Appearance
Managing Referrals
FluentAffiliate gives you a clear and powerful dashboard to manage and track every affiliate referral. This is where you can see all successful conversions, review their status, and take action when needed.
In this guide, we'll walk you through the features of the Referrals page to help you stay in control.
Referral Dashboard Overview
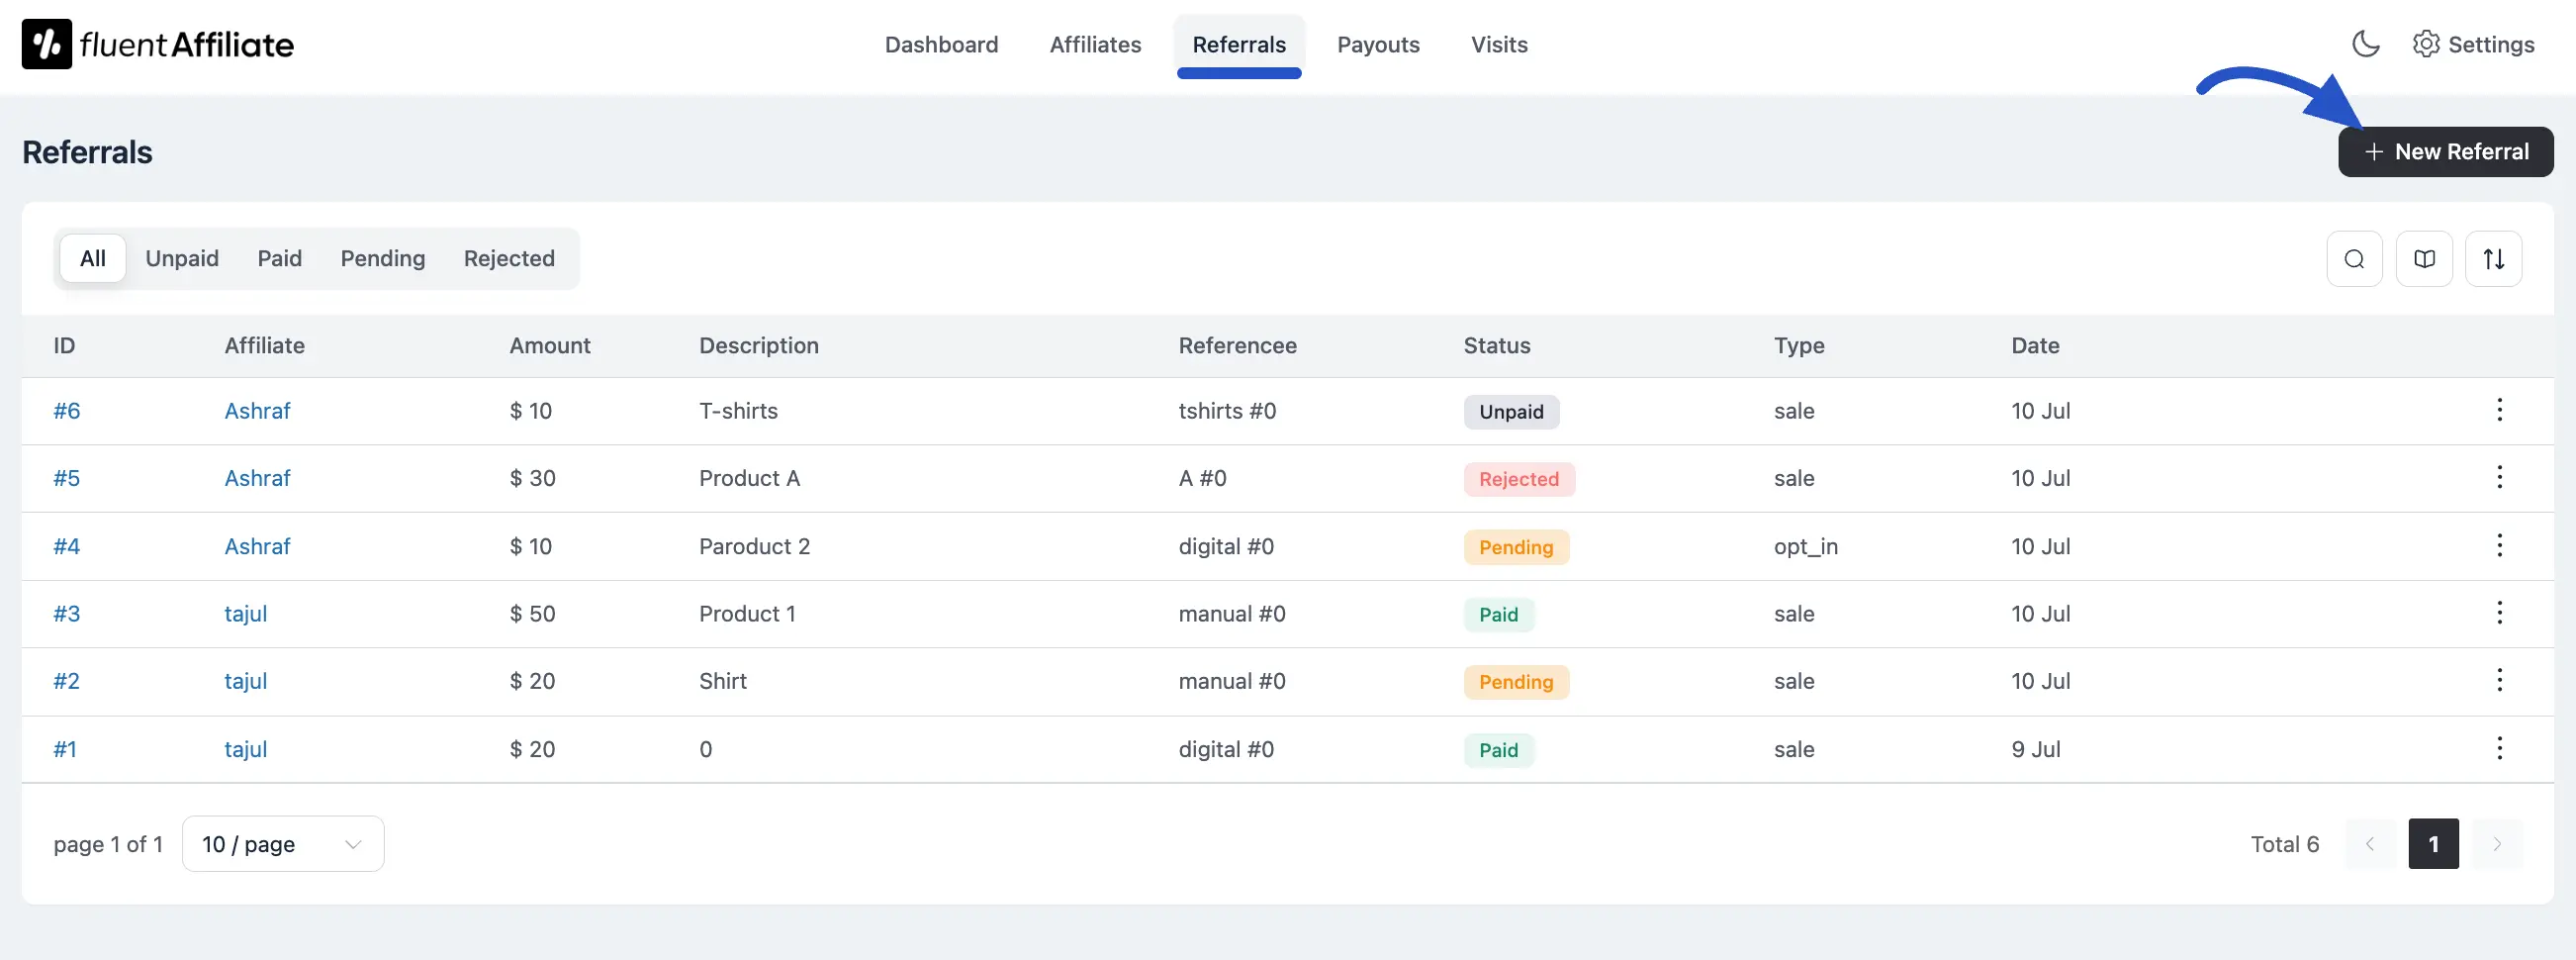
To get started, click on the Referrals tab from the main FluentAffiliate menu. This will take you to the main referrals dashboard.
Adding a New Referral
At the top right, you'll see the + New Referral button. This allows you to manually create a referral and assign it to an affiliate, which can be useful for offline sales or special cases.
Filtering Referrals by Status
Just below the page title, you can use the filter tabs to quickly view referrals based on their status:
- All: Shows every referral that has ever been recorded.
- Unpaid: Shows approved referrals that are waiting to be included in a payout.
- Paid: Shows referrals for which commissions have already been paid to the affiliate.
- Pending: Shows new referrals that are awaiting your approval before they can be paid.
- Rejected: Shows any referrals that you have marked as rejected, meaning no commission will be paid for them.
Referrals Details Table
The main table lists every referral with all the important details, giving you a transparent overview.
- ID: A unique identification number for each referral.
- Affiliate: The name of the affiliate who generated the referral. You can click on their name to view their full profile.
- Amount: The commission amount earned from that specific referral.
- Description: Details about the product or service that was purchased.
- Reference: A source or order ID linked to the referral.
- Status: The current status of the referral Paid, Pending, Unpaid, or Rejected.
- Type: The source of the commission, such as a product sale or a form submission.
- Date: The exact date the referral was created.
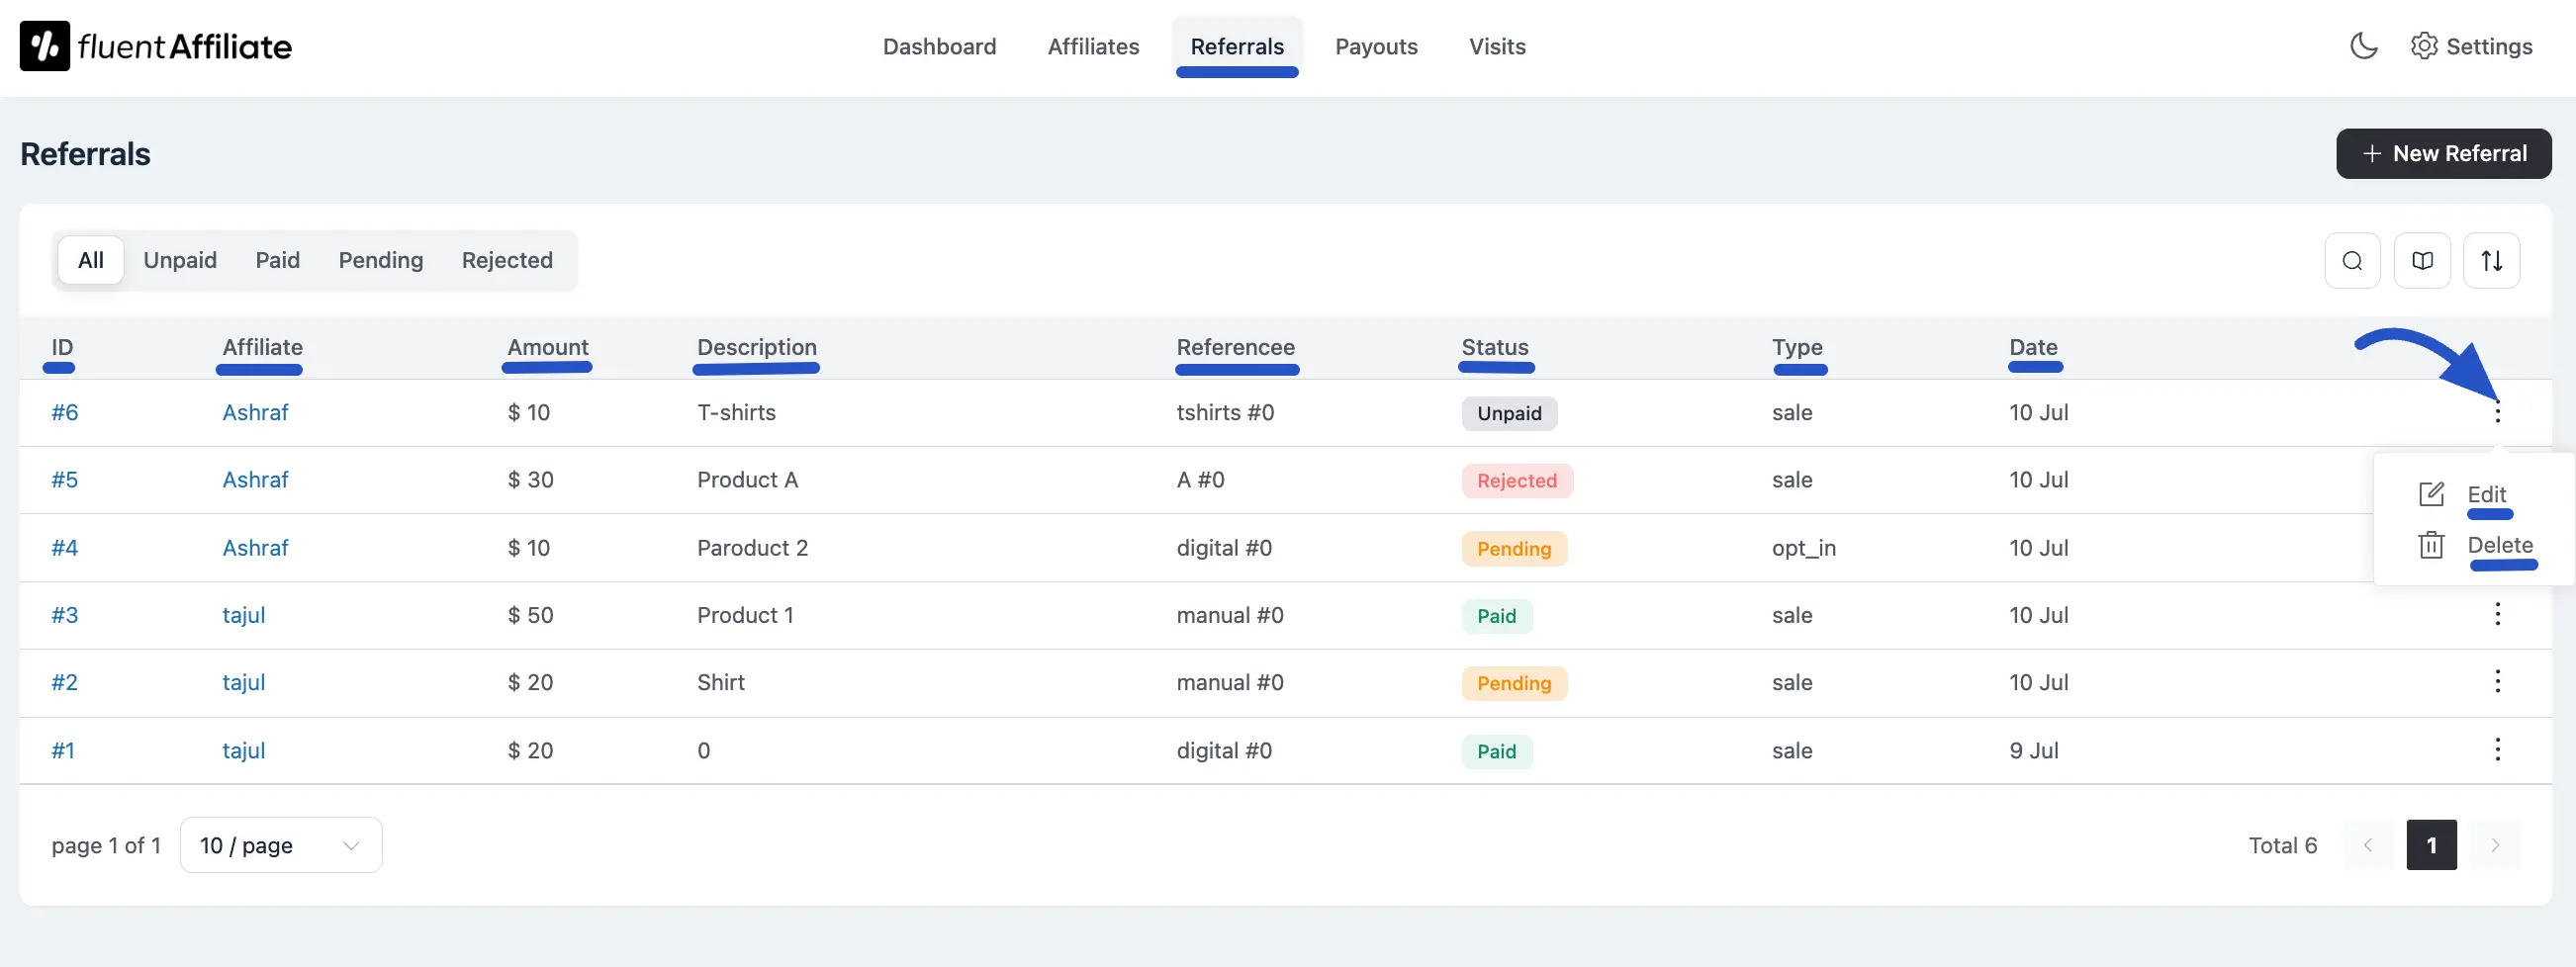
Managing Individual Referrals
At the end of each referral's row is a three-dot menu that contains key actions:
- Edit: Allows you to modify the details of the referral, such as its status or amount.
- Delete: Permanently removes the referral record.
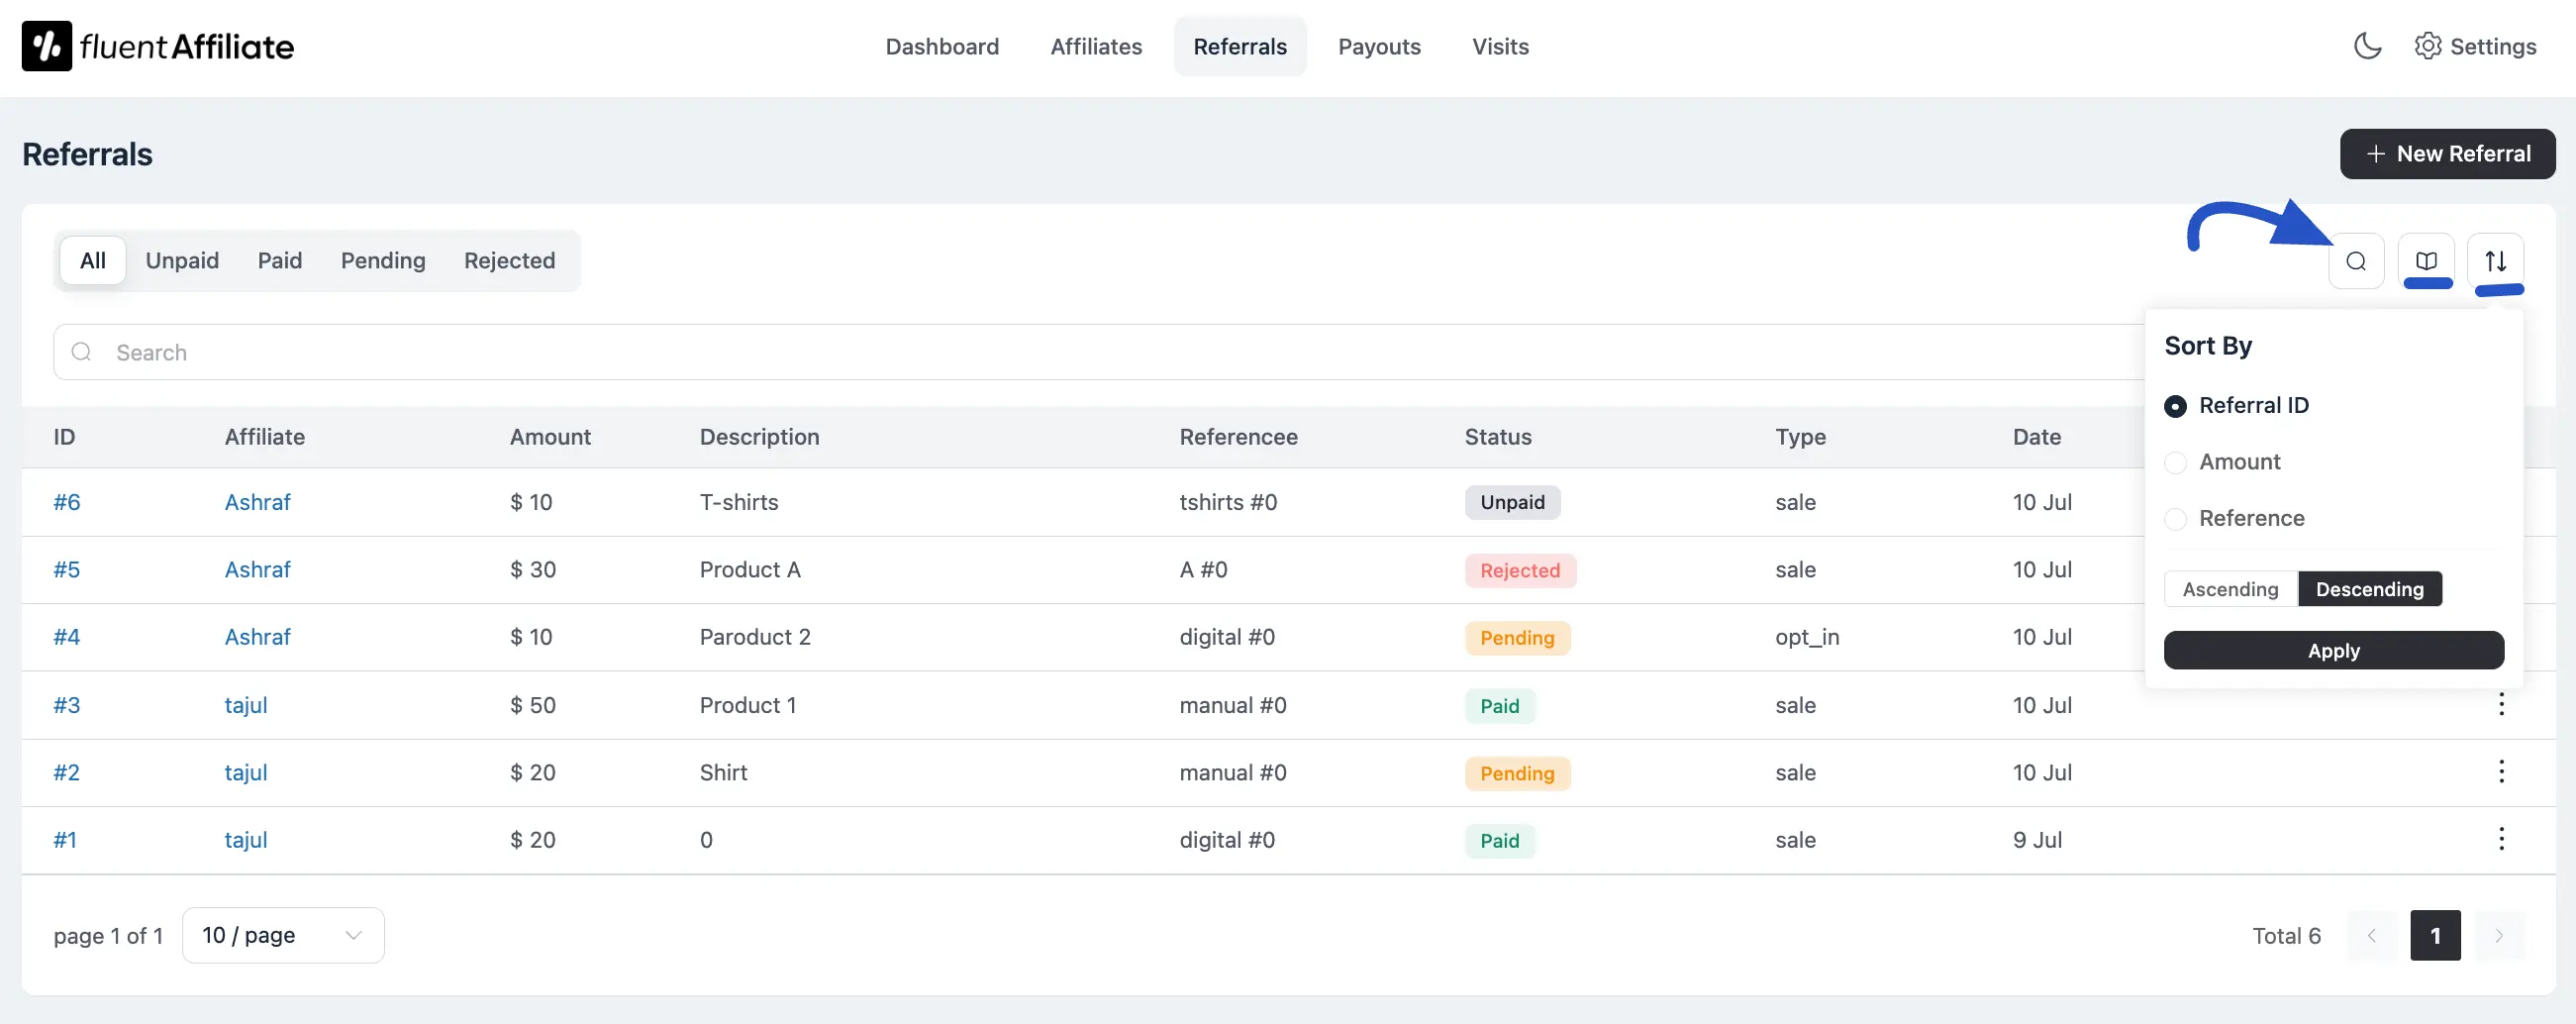
Search and Sort Tools
Search bar: Quickly find specific referrals by entering keywords or details.
Column Selection: Choose which columns you want to display in the referral table.
Sort: Sort your referrals by Amount, ID, or Reference in ascending or descending order. Don't forget to hit Apply after sorting.
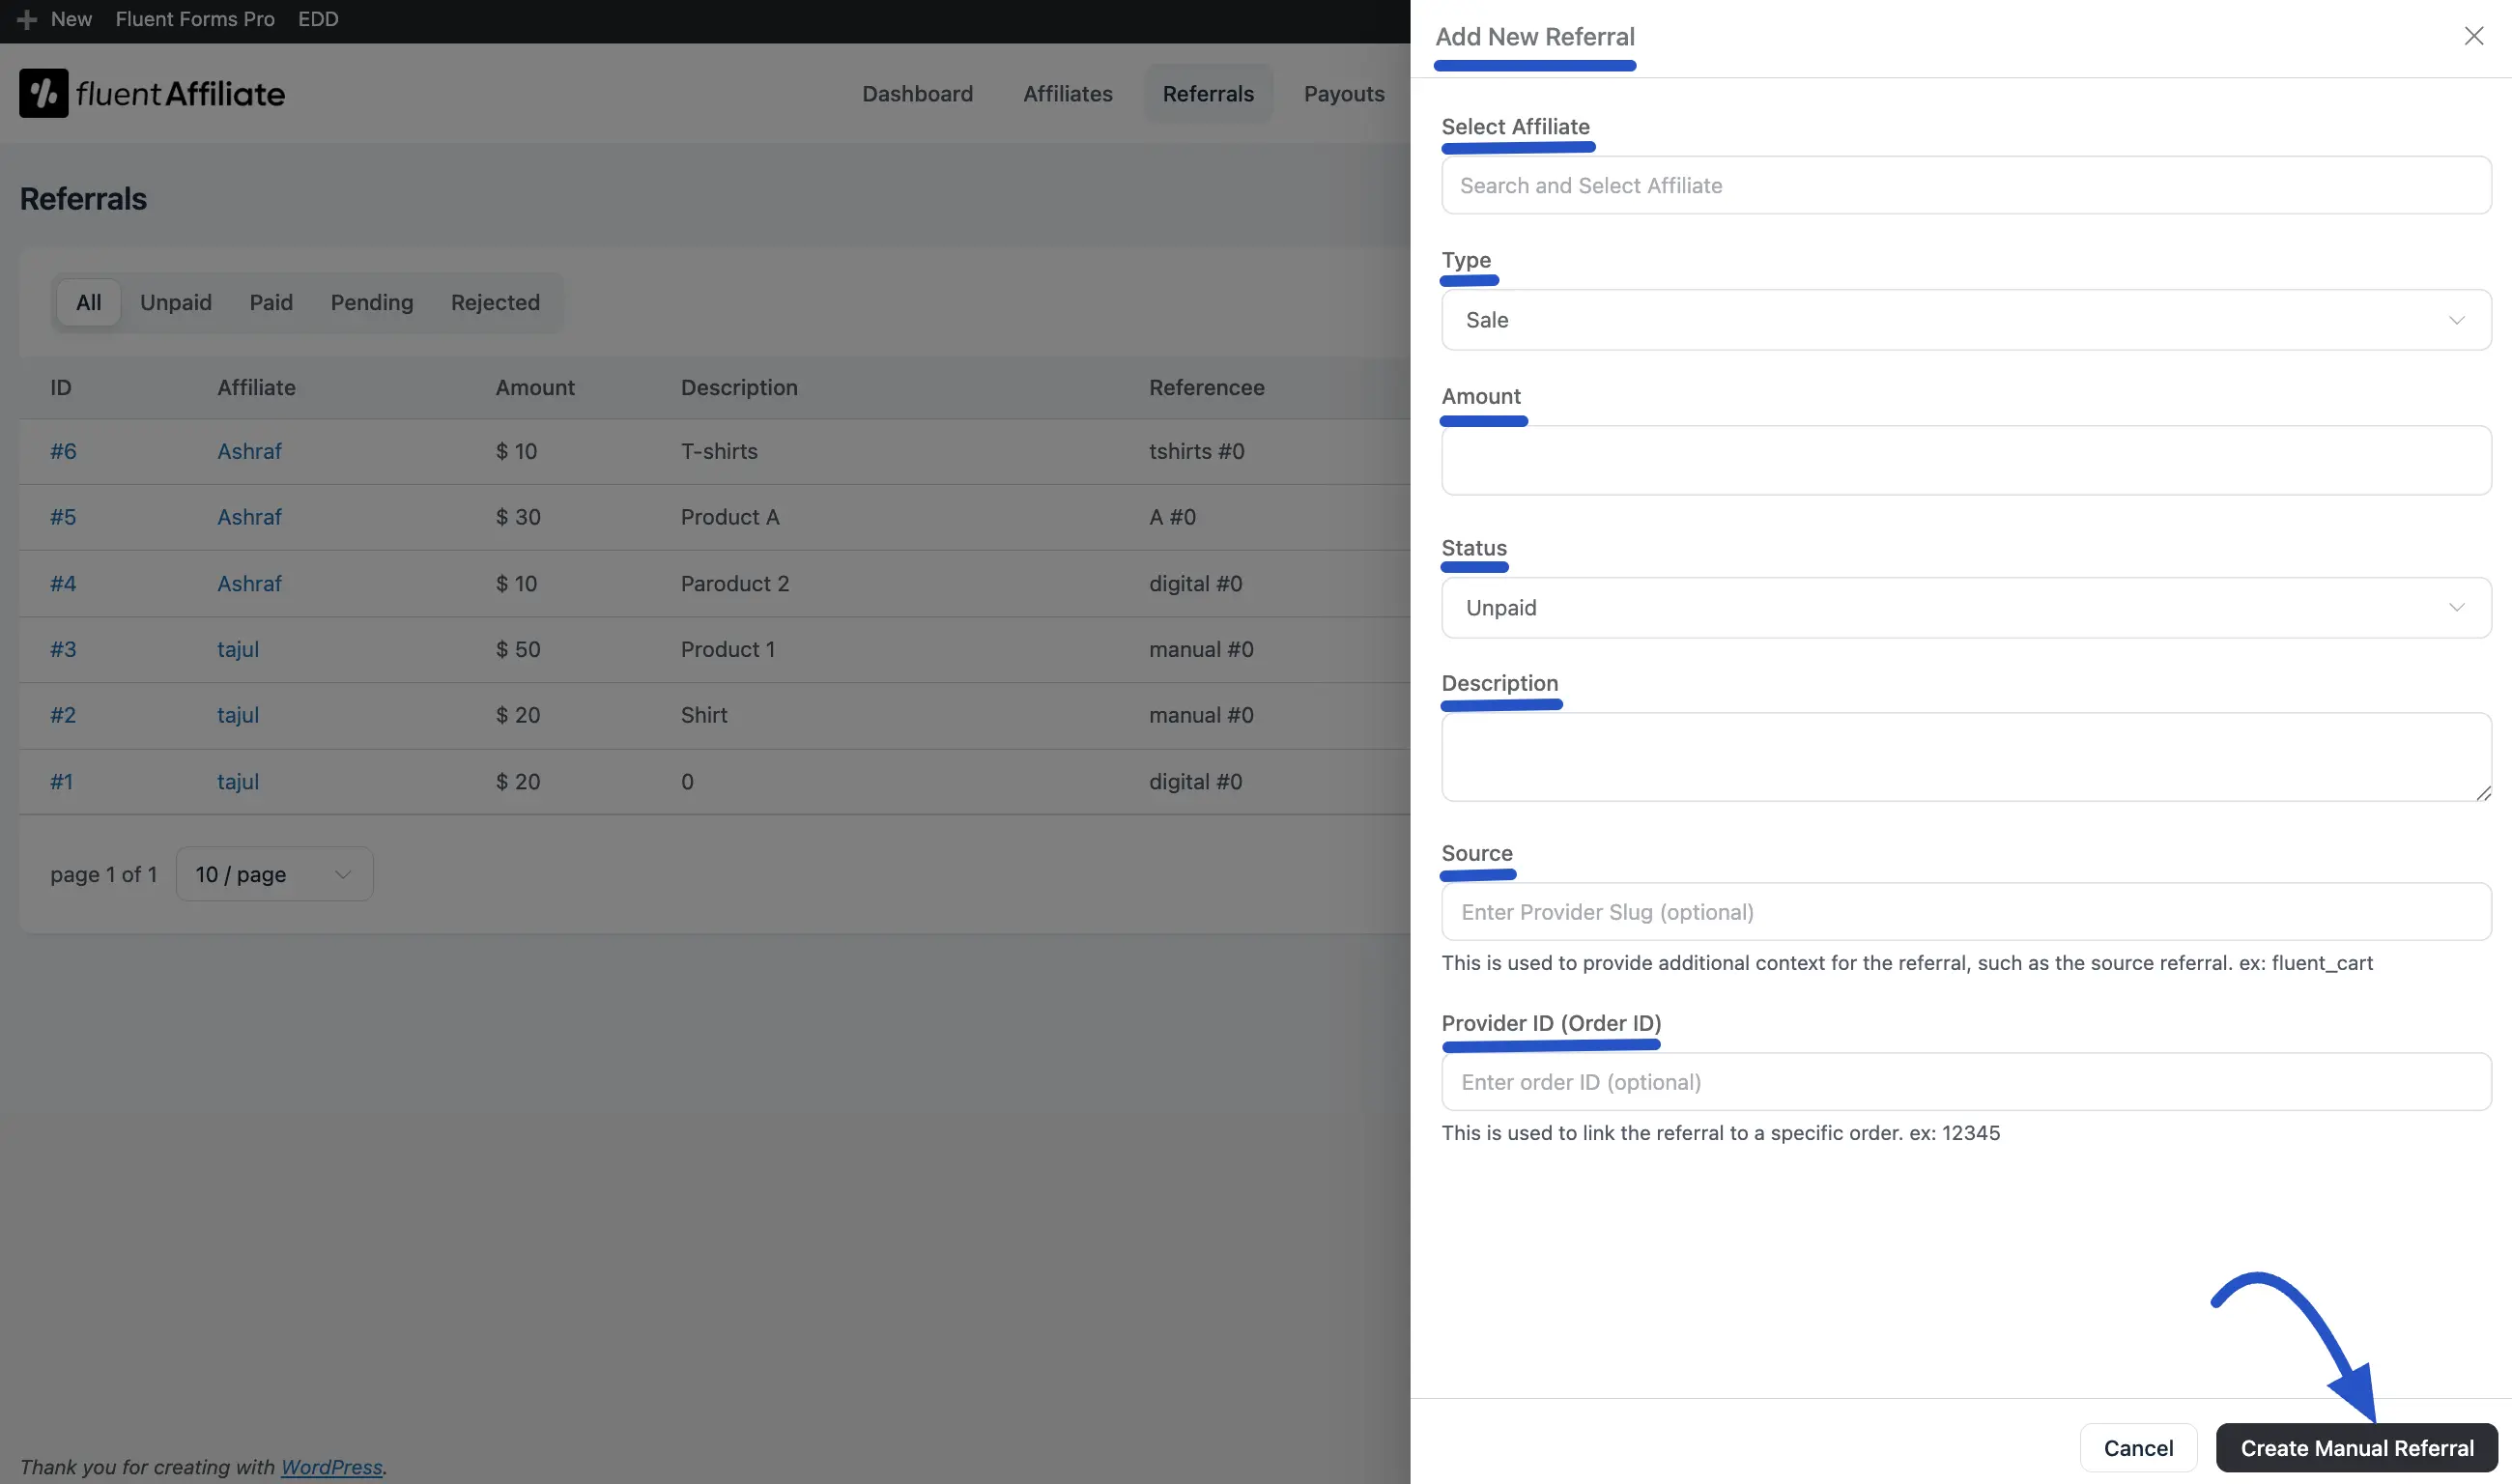
Add a New Referral
Want to manually add an referral to your site?
First, click the New Referral button.
After clicking the button, a form will slide in from the right side of your screen. Here, you'll need to fill in the details for the new referral.
- Select Affiliate: Start typing the name of the affiliate you want to credit and select them from the list. This is the most important field.
- Type: Choose the type of referral from the dropdown menu (e.g., Sale, Opt-in).
- Amount: Enter the exact commission amount the affiliate will earn for this referral in the designated numerical field. The currency for this amount is displayed next to the input box.
- Status: Set the initial status of the referral. You can choose from Unpaid, Paid, Pending, or Rejected.
- Description: Add a short note or description for your own records, explaining why this referral was added manually (e.g., "Manual entry for phone order #5512").
- Source (Optional): You can enter a source slug here to provide extra context about where the referral came from (e.g., manual_sale).
- Provider ID (Optional): If this referral corresponds to an order in another system (like WooCommerce), you can enter the Order ID here to link them for easy reference.
Once you have filled in all the necessary details, click the Create Manual Referral button at the bottom of the form.
The new referral will be instantly created and will appear in your main referrals list, assigned to the affiliate you selected.
That's it! Your new referral will now appear in the list.