Appearance
Paymattic Integration with FluentAffiliate
Paymattic is a fantastic payment and donation form builder for WordPress. By integrating it with FluentAffiliate, you can empower your affiliates to earn commissions on form submissions, turning your payment forms into powerful revenue streams.
This guide will walk you through a step-by-step process to connect Paymattic with FluentAffiliate.
NOTE
Before you begin, please make sure you have both the Paymattic and FluentAffiliate plugins installed and activated on your WordPress website.
Enable Paymattic Integration
First, you need to tell FluentAffiliate to connect with Paymattic.
- Go to your FluentAffiliate Dashboard.
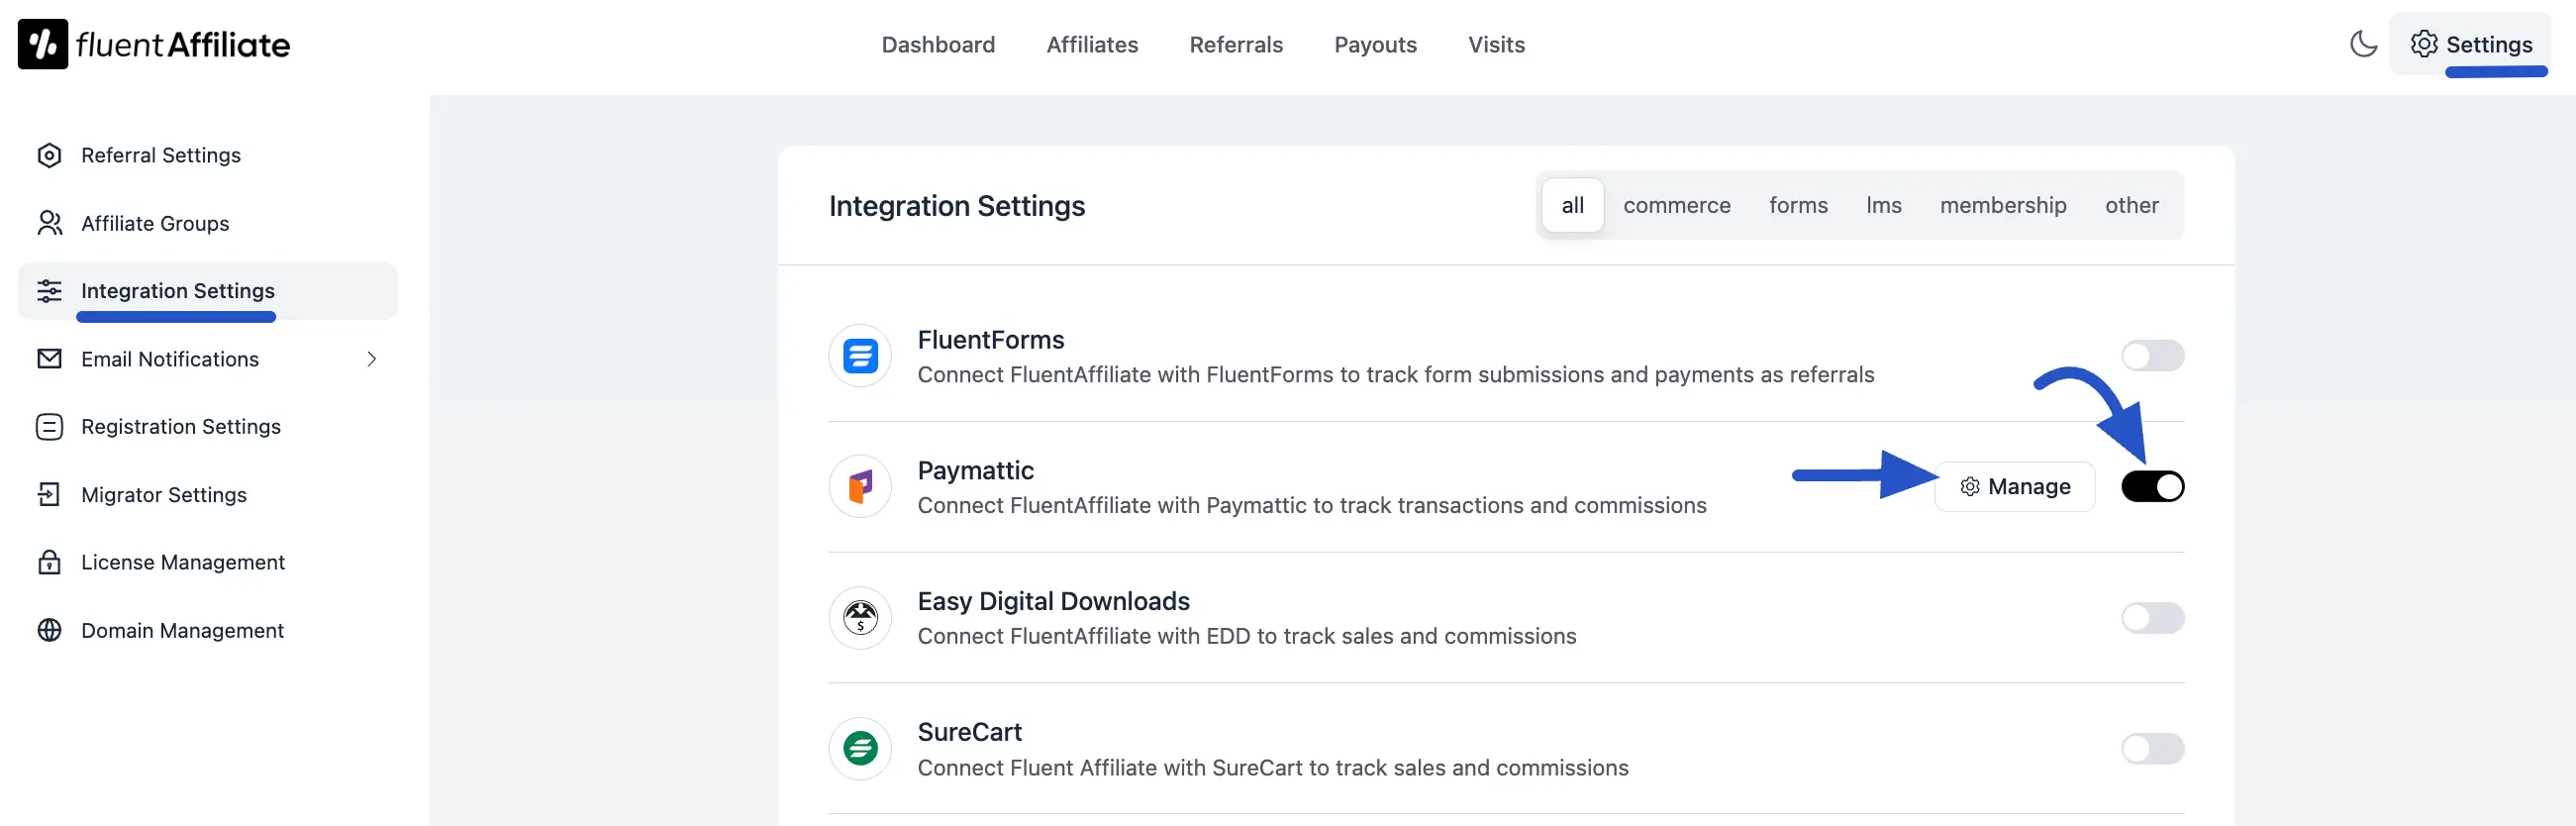
- Click on Settings in the top menu.
- From the left sidebar, select the Integration Settings option.
- You will see a list of available integrations. Find Paymattic in the list and click the toggle button to enable it.
Your Paymattic integration with FluentAffiliate is now active, allowing affiliates to earn referral commissions on course sales.
In the Manage section, you'll find additional settings to customize how affiliate commissions work with your courses.
Configure Paymattic Settings
Once you enable the integration, a settings pop-up will appear, giving you powerful options to control how commissions are handled for your forms.
Here’s a breakdown of the settings you'll see:
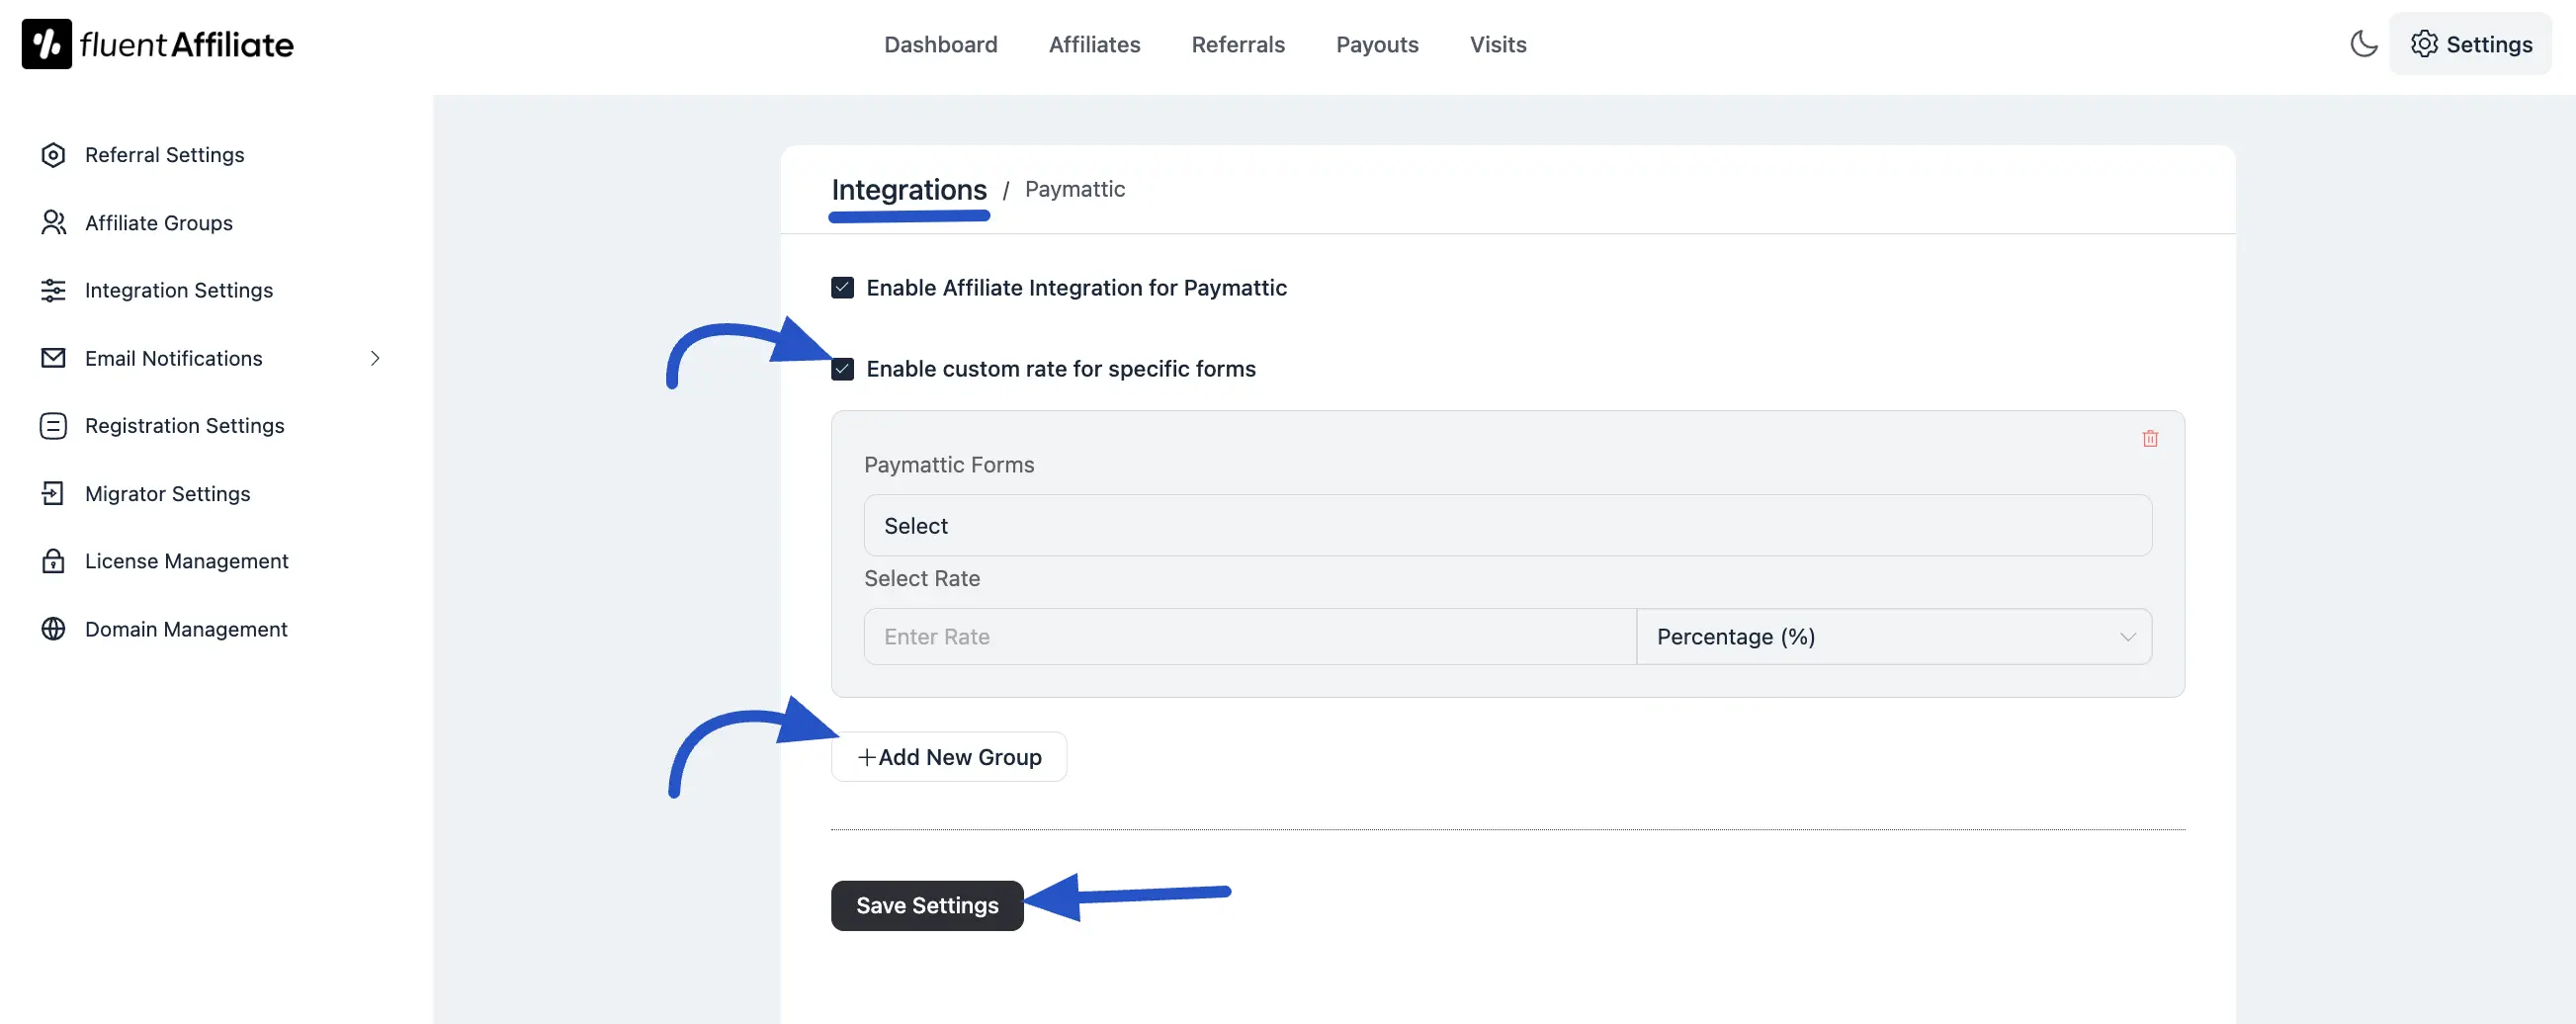
- Enable Affiliate Integration for Paymattic: This is the main switch for the integration. It must be checked for the integration to work.
- Enable custom rate for specific forms: Check this box if you want to set different commission rates for different Paymattic forms. This is perfect if you want to offer a higher commission on a specific product or service form. This setting will override the default commission rate you have set globally.
Setting a Custom Rate
If you enabled custom rates, you can configure them easily:
- Paymattic Forms: Click on the "Select" field to choose a specific Paymattic form from a dropdown list.
- Select Rate: Enter the commission amount you want to offer for that form. You can choose between a Percentage (%) or a Fixed amount from the dropdown on the right.
- Add New Group: If you need to set a custom rate for another form, simply click the + Add New Group button. This will add a new row where you can select another form and set its unique commission rate.
- Save Settings: Once you are done with your configuration, don’t forget to click the Save Settings button to make sure all your changes are applied.
Generate an Affiliate Link
After you've set everything up, your affiliates can start promoting your forms. To learn more about how can generate your affiliate link, read this article.
Your affiliate can now copy this link and share it on their blog, social media, or with their audience. When a user clicks this link and submits the form, the affiliate will earn a commission!
Troubleshooting Common Issues
Here are solutions to common issues you might encounter:
- Commissions Not Tracking: Double-check that the integration toggle is enabled in the settings. You can also test an affiliate link in an incognito browser window to ensure it's working correctly.
And that's it! You have successfully connected Paymattic with FluentAffiliate, creating another great way to boost your sales.