Appearance
Email Settings
The Email Settings section allows you to configure the global settings for all emails sent by FluentAffiliate, including sender details, branding, and admin notifications.
Accessing Email Settings
To access this section, navigate from your WordPress dashboard to FluentAffiliate → Settings → Email Settings.
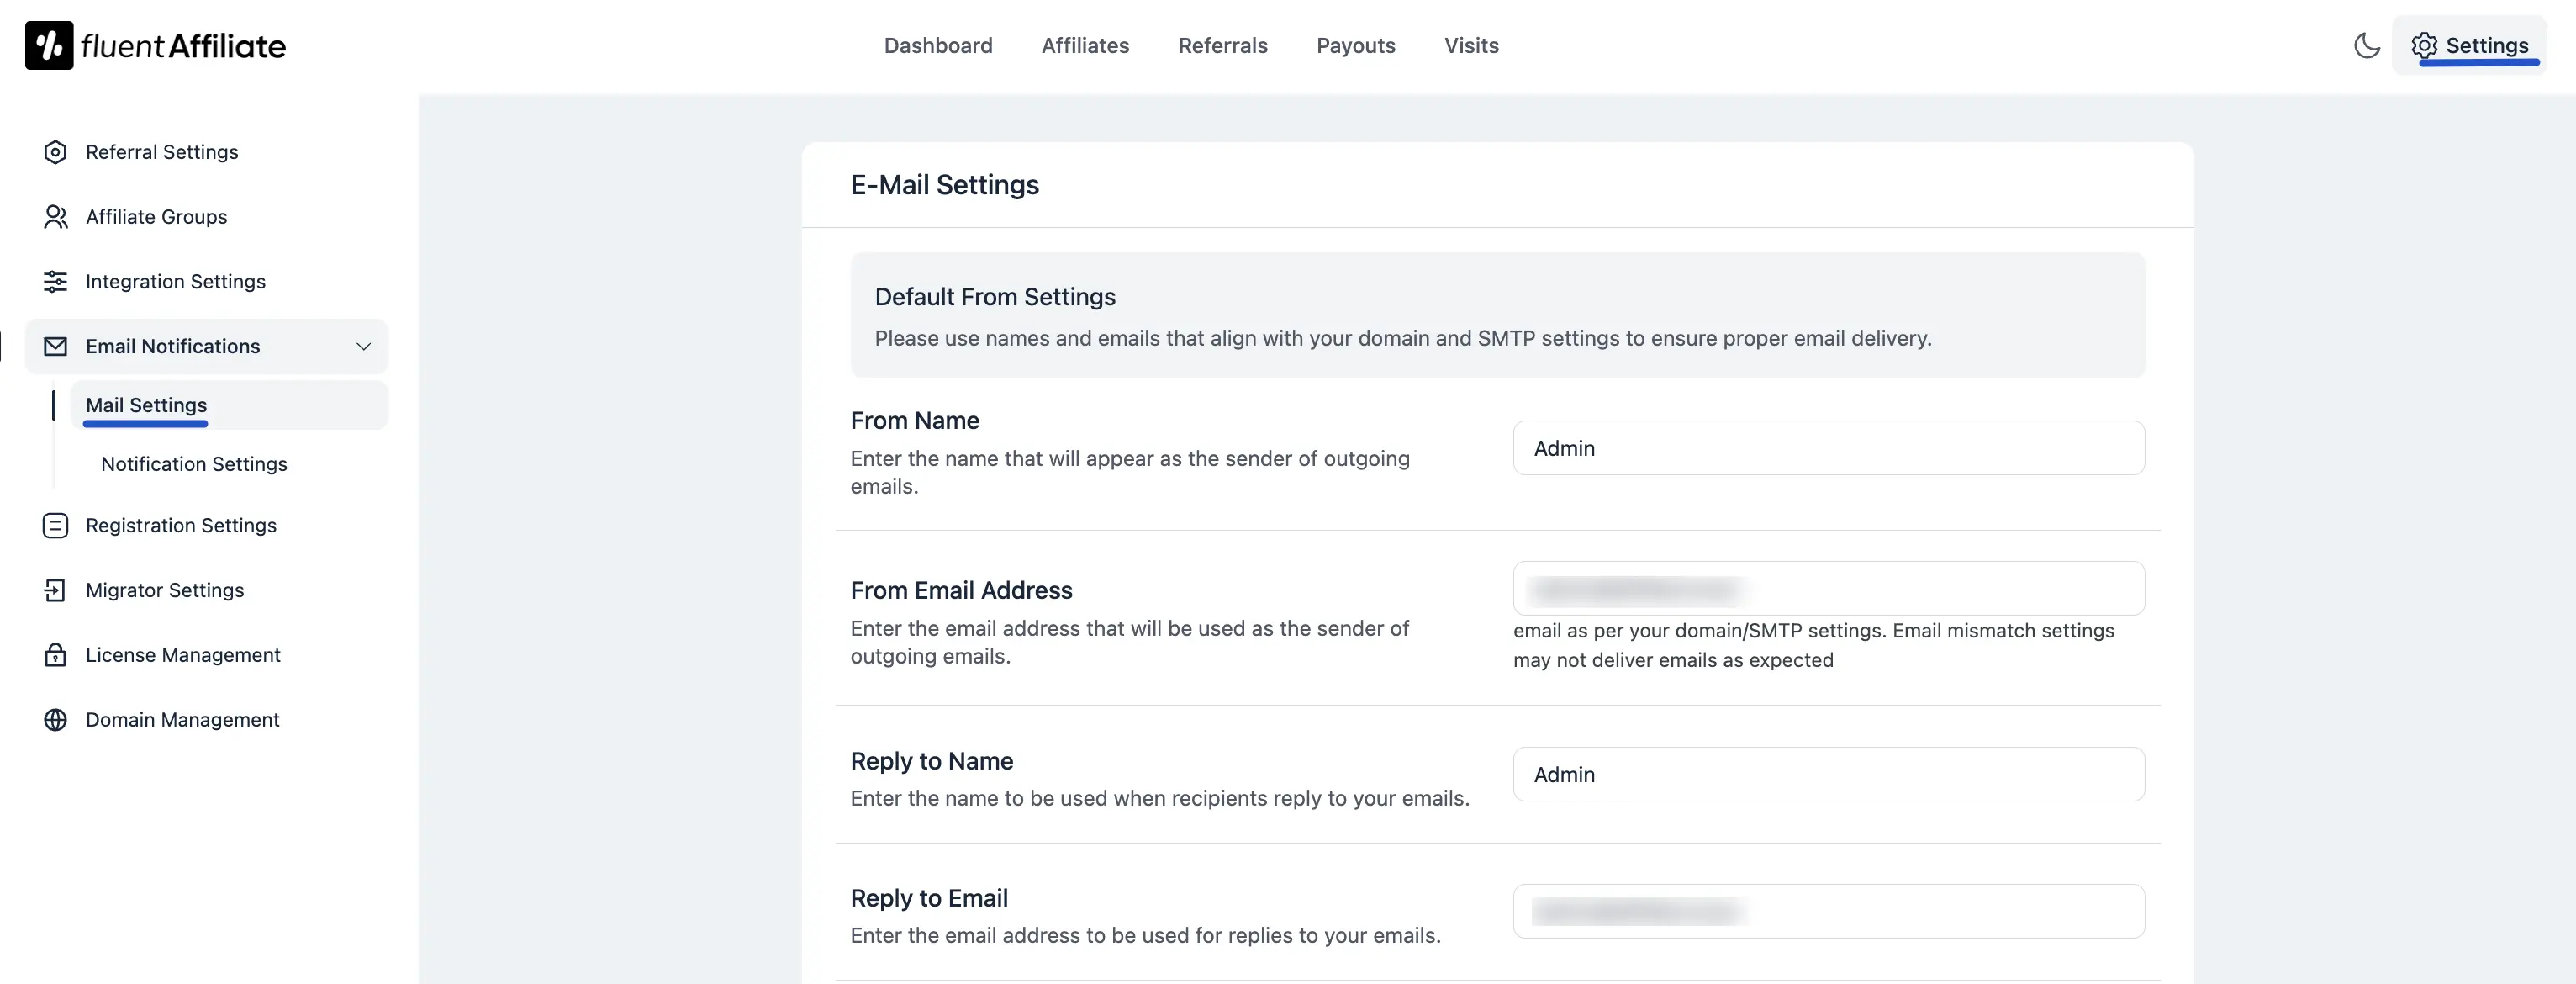
Default Sender Settings
These settings control the default identity for all outgoing emails to ensure proper delivery and branding.
- From Name: Enter the name that will appear as the sender of outgoing emails.
- From Email Address: Enter the email address that will be used as the sender of outgoing emails.
- Reply to Name: Enter the name to be used when recipients reply to your emails.
- Reply to Email: Enter the email address to be used for replies to your emails.
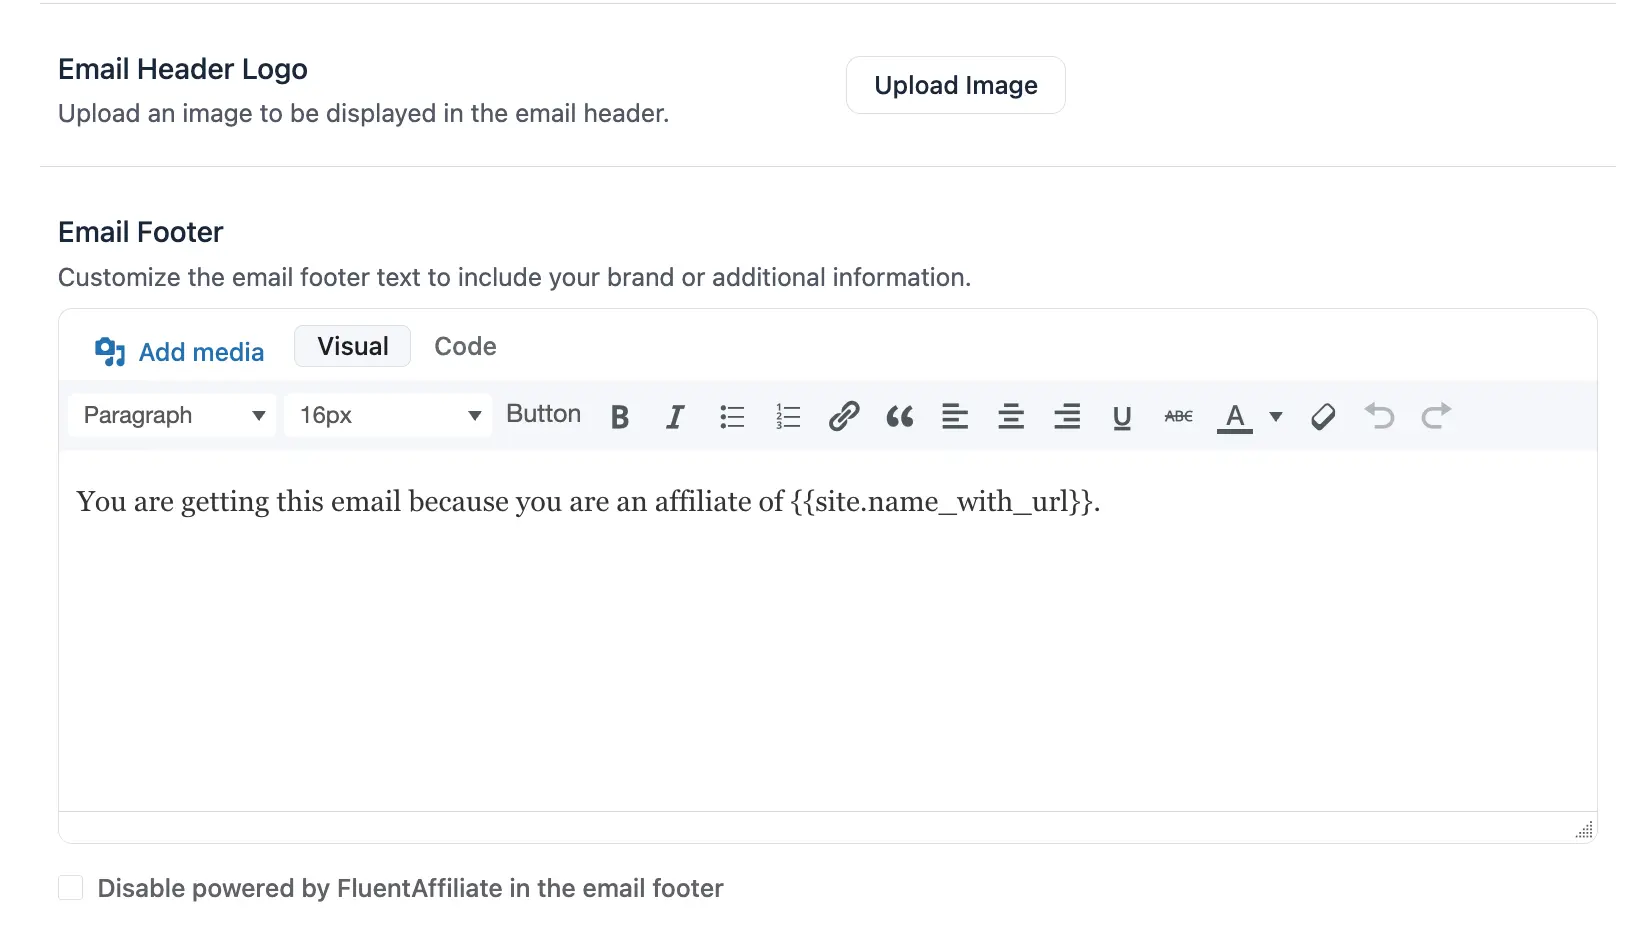
Email Branding and Content
Customize the look and feel of your emails with a logo and a custom footer.
- Email Header Logo: Upload an image to be displayed in the email header.
- Email Footer: Customize the email footer text to include your brand or additional information using the rich text editor. To create a dynamic footer, you can use shortcodes like
{{site_name}}. You can also disable the "powered by FluentAffiliate" text from the footer.
Admin Notification Settings
Configure where and how often administrators receive email notifications and performance summaries.
- Admin Email Address: Set the address where FluentAffiliate will send admin notifications. You can use commas to list multiple email addresses.
- Performance Summary Email Digest: Select how often you want to receive the performance summary email. The option shown is "Daily".
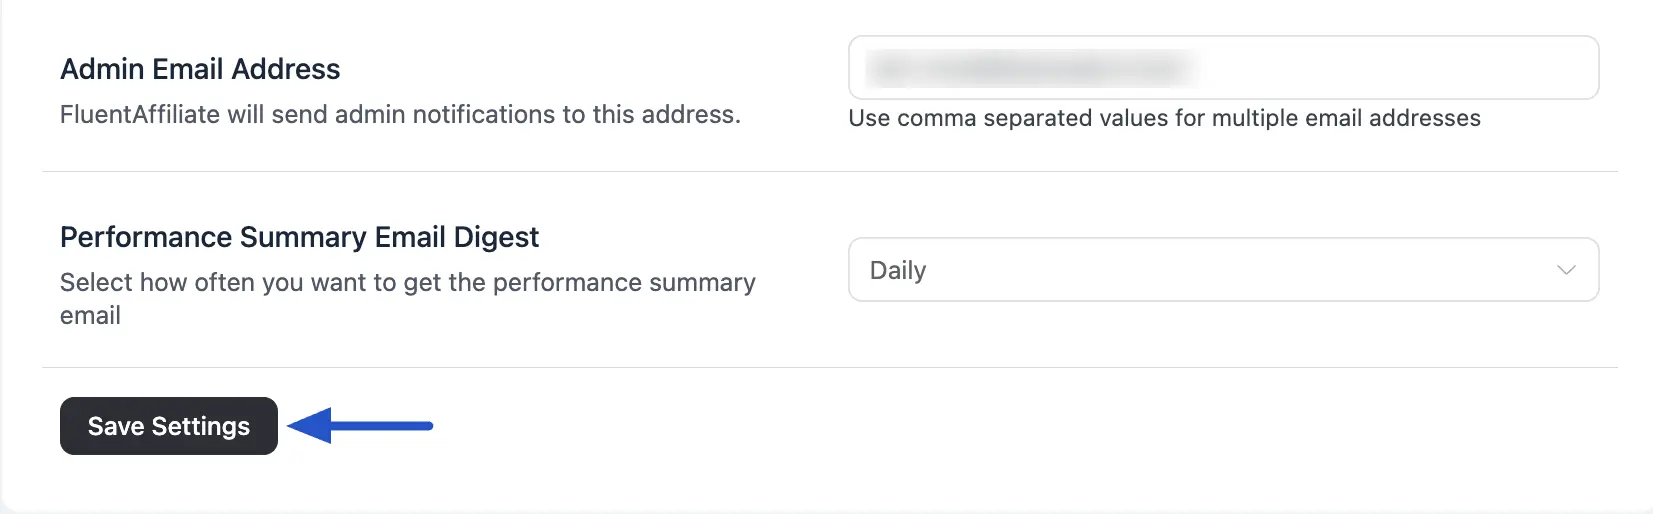
After adjusting your settings, click the Save Settings button to apply the changes.