Appearance
FluentCRM Integration with FluentAffiliate
FluentCRM is a powerful email marketing automation plugin for WordPress. With FluentAffiliate, you can manage your email marketing campaigns and affiliate commissions seamlessly.
In this guide, we'll walk you through how to connect FluentCRM with FluentAffiliate step by step.
NOTE
Make sure both the FluentCRM and FluentAffiliate plugins are installed and activated on your website.
Enable FluentCRM in FluentAffiliate
First, let's enable the integration to get the two plugins working together.
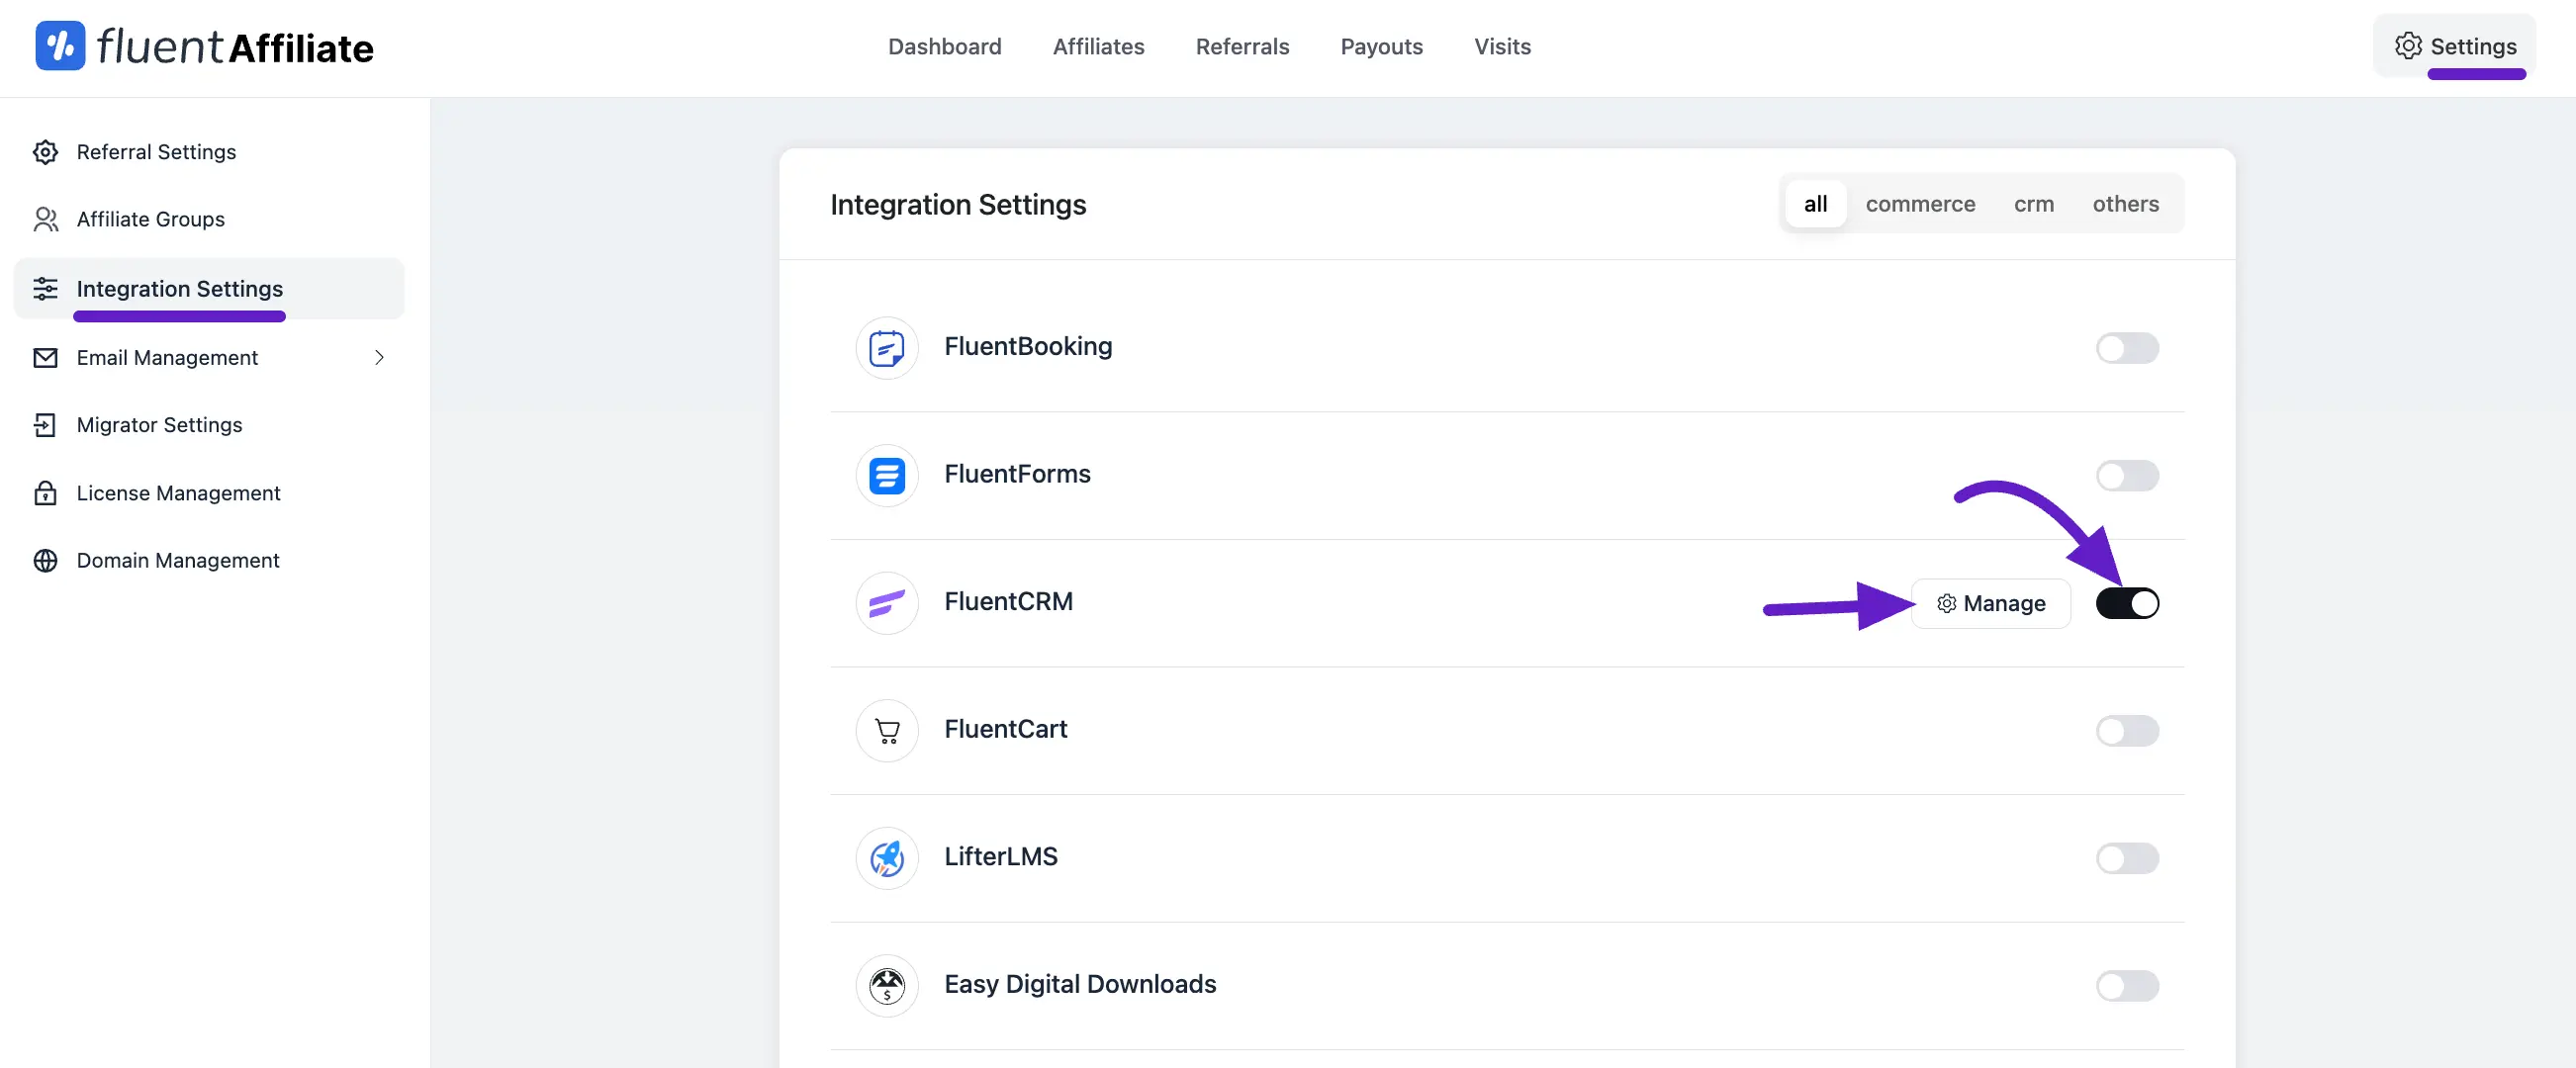
- Once FluentCRM is active, go to the FluentAffiliate Dashboard.
- From the top menu, click on Settings, and from the left sidebar, select the Integration Settings option.
- You will see a list of available integrations. Find FluentCRM in this list and click the toggle button next to it to turn it on.
Your FluentCRM integration with FluentAffiliate is now active, allowing you to automate affiliate-related email marketing tasks.
In the Manage section, you'll find additional settings to customize how the integration works.
Configure FluentCRM Settings
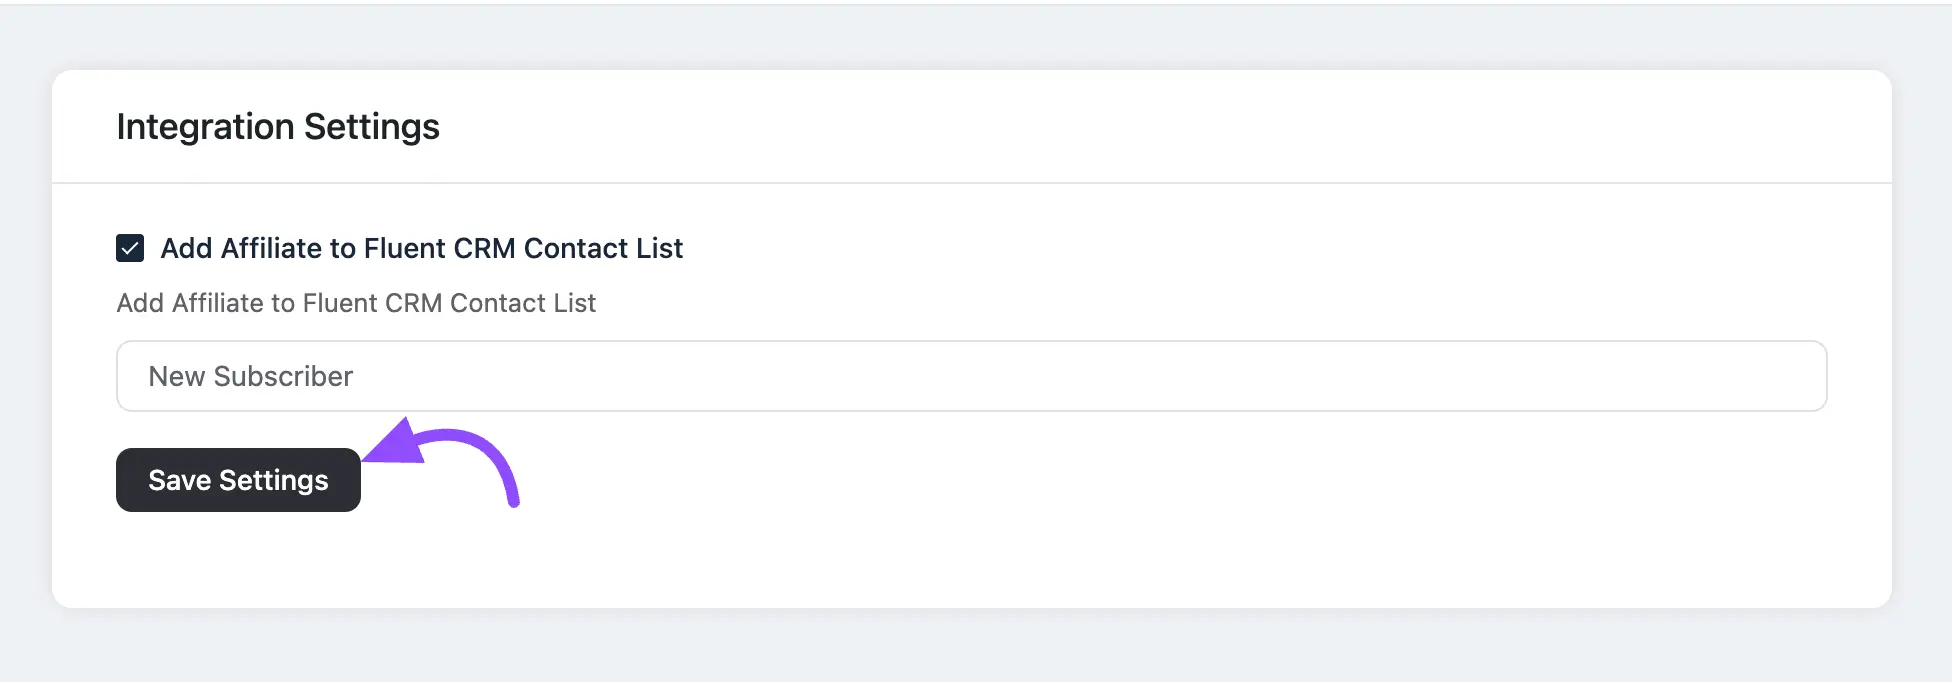
After enabling the integration, a pop-up will appear where you can configure the settings.
- Check the box for Add Affiliates to FluentCRM Contact List.
- In the box that appears, search for and select the specific contact list where you want your new affiliates to be added.
- After selecting the options, simply click the Save Settings button to save your settings.
Set Up Automation
After configuring the basic settings, you can set up automated workflows to manage your affiliate communications.
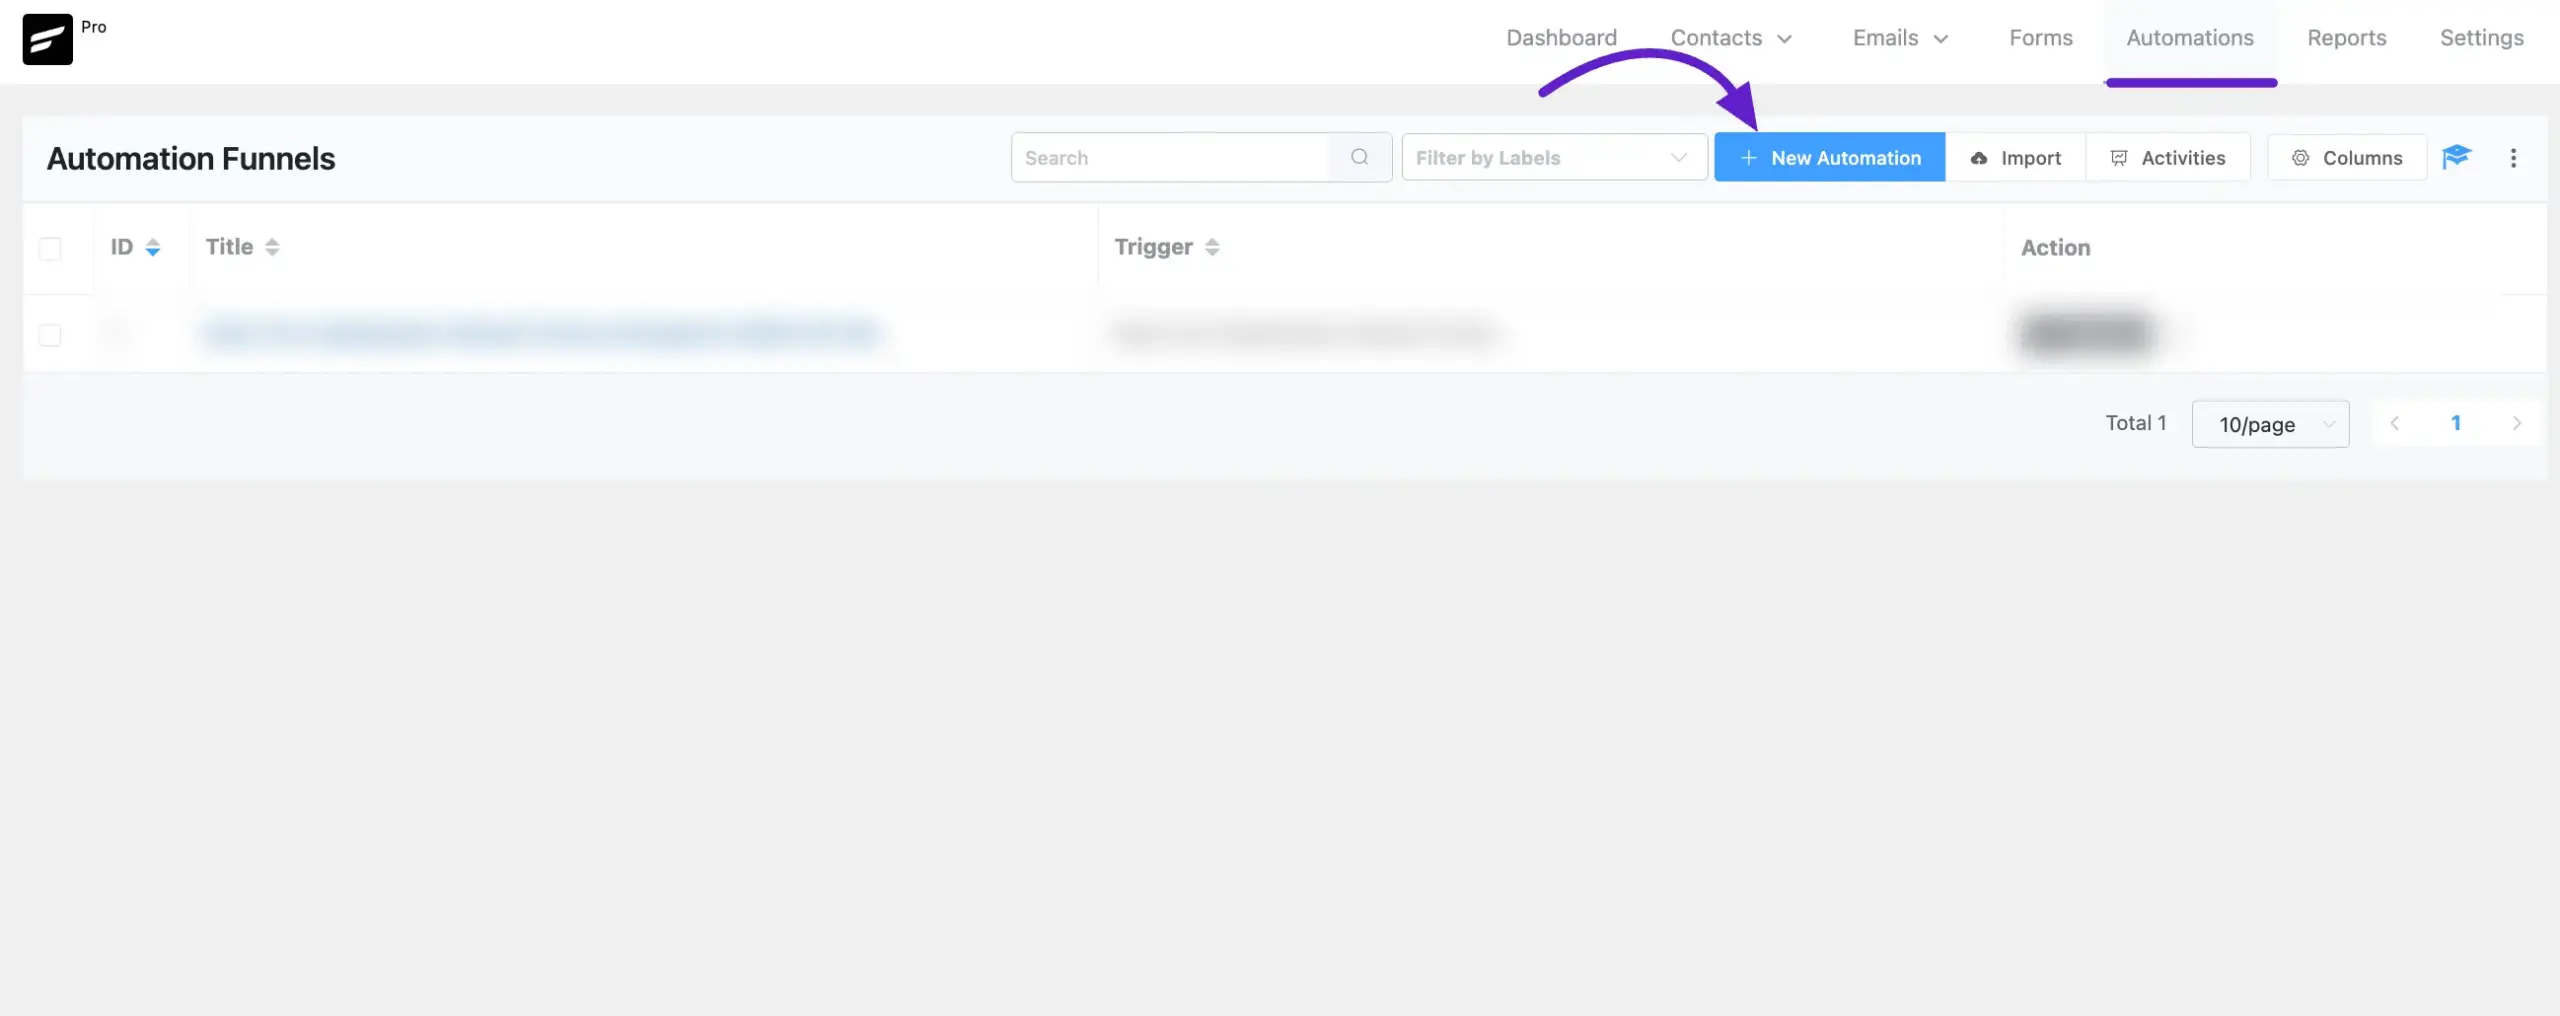
FluentCRM provides Triggers specifically designed for FluentAffiliate to run automations.
To get all the Triggers, go to the Automations section from the FluentCRM navbar and click the + New Automation button.
To learn the detailed process of creating a new automation funnel, read this Documentation.
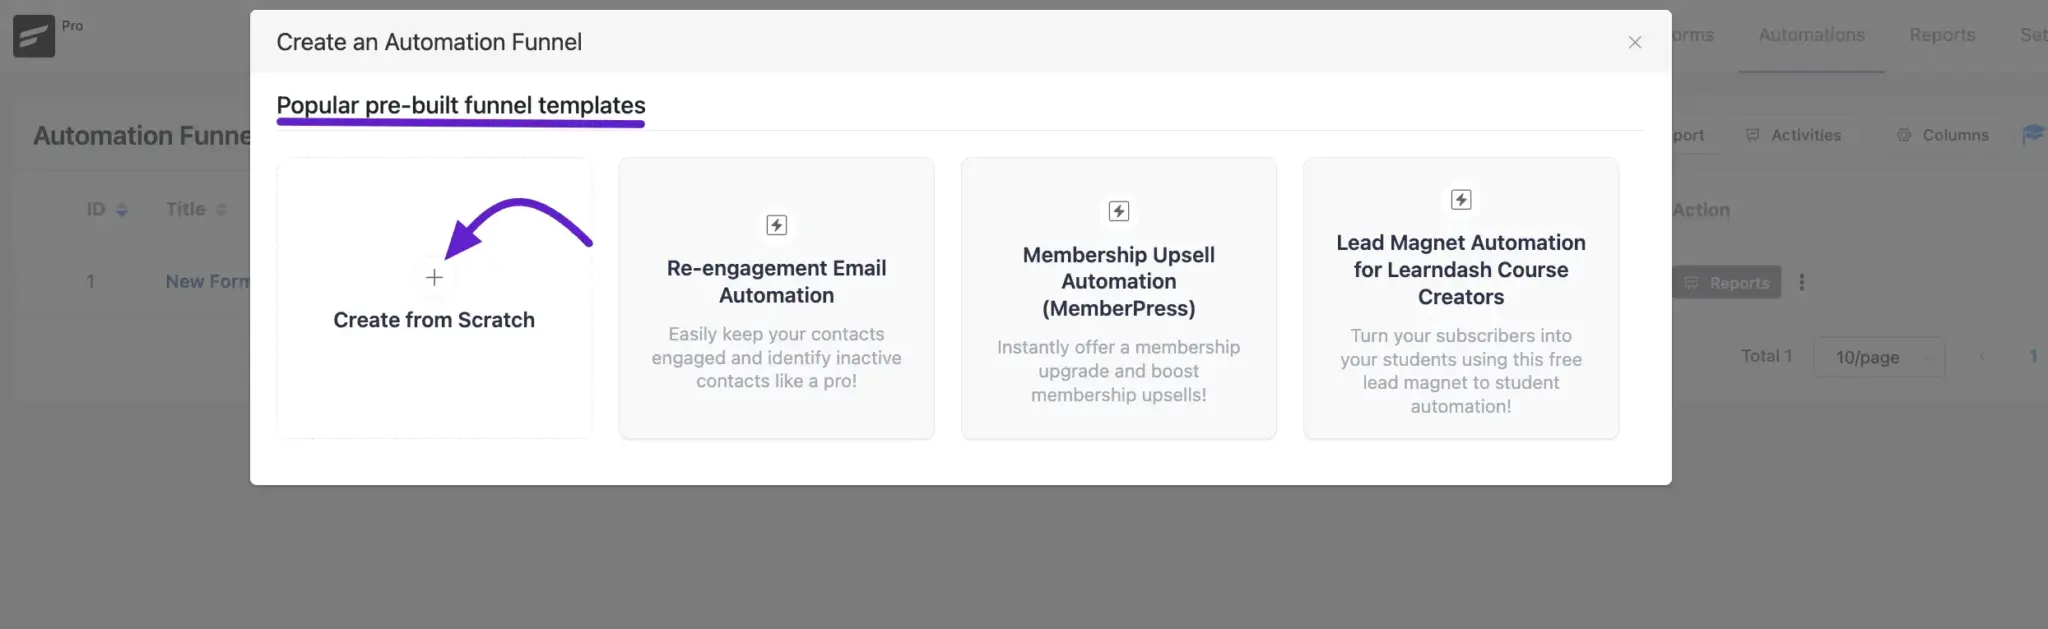
Now, a pop-up page will appear with all the Popular pre-built funnel templates for creating automation, where the full funnel diagram will be ready automatically.
If you want to create your automation funnel from scratch, simply click on the Create from Scratch tab (e.g., here, I have created a new automation from scratch).
Triggers for FluentAffiliate
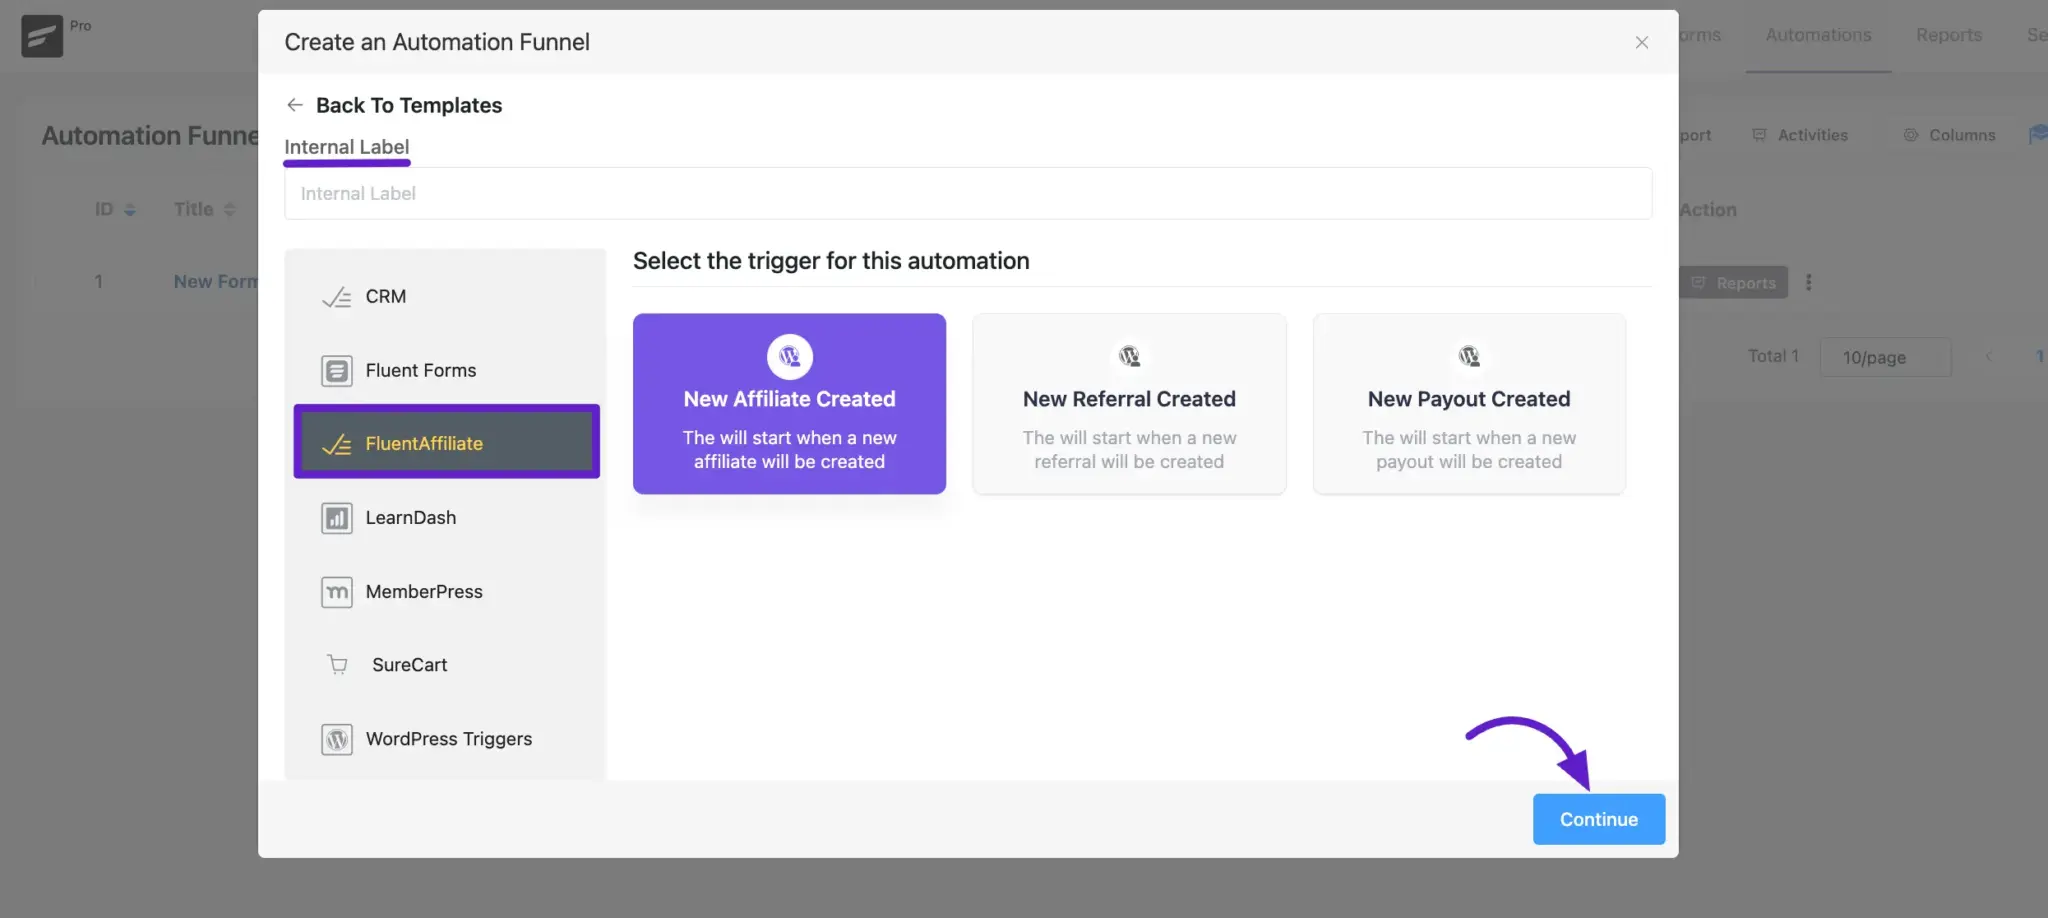
Go to FluentAffiliate from the left sidebar, and all the Triggers for FluentAffiliate will appear.
Now, choose your desired trigger. Here, you can give a Title to your Automation in the Internal Label field for easy referencing later. But if you leave it blank, the title will be automatically set based on your chosen trigger. All the triggers are:
New Affiliate Created: If you select this trigger, the automation will start when a new affiliate is created in FluentAffiliate.
New referral created: If you select this trigger, the automation will start when a new referral is created in FluentAffiliate.
New Payout Created: If you select this trigger, this will start when a new payout is created in FluentAffiliate. Create targeted campaigns for your affiliates.
Run Email Campaigns
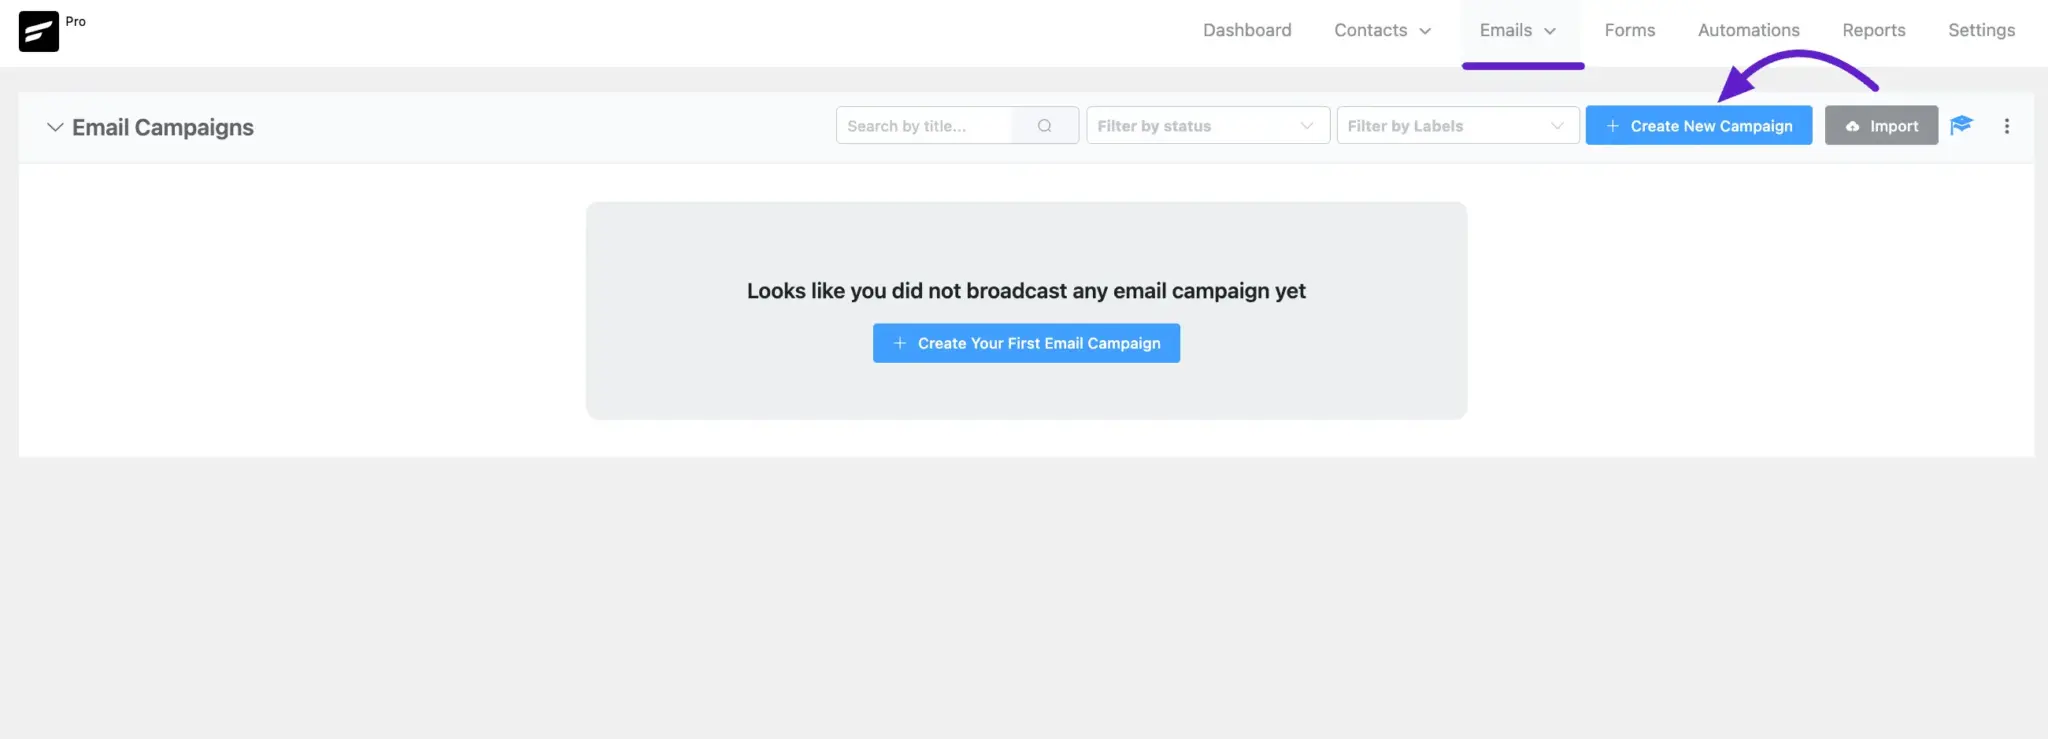
FluentCRM allows you to run Email campaigns, particularly for FluentAffiliate contacts.
First, go to All Campaigns under the Emails section from the FluentCRM navbar, and click the + Create New Campaign button.
To learn the detailed process of creating a new Email Campaign, read this Documentation.
By Advanced Filter
TIP
To use this advanced filter to select the email campaign recipients, you need to have the FluentCRM Pro Plugin installed and activated on your WordPress Site.
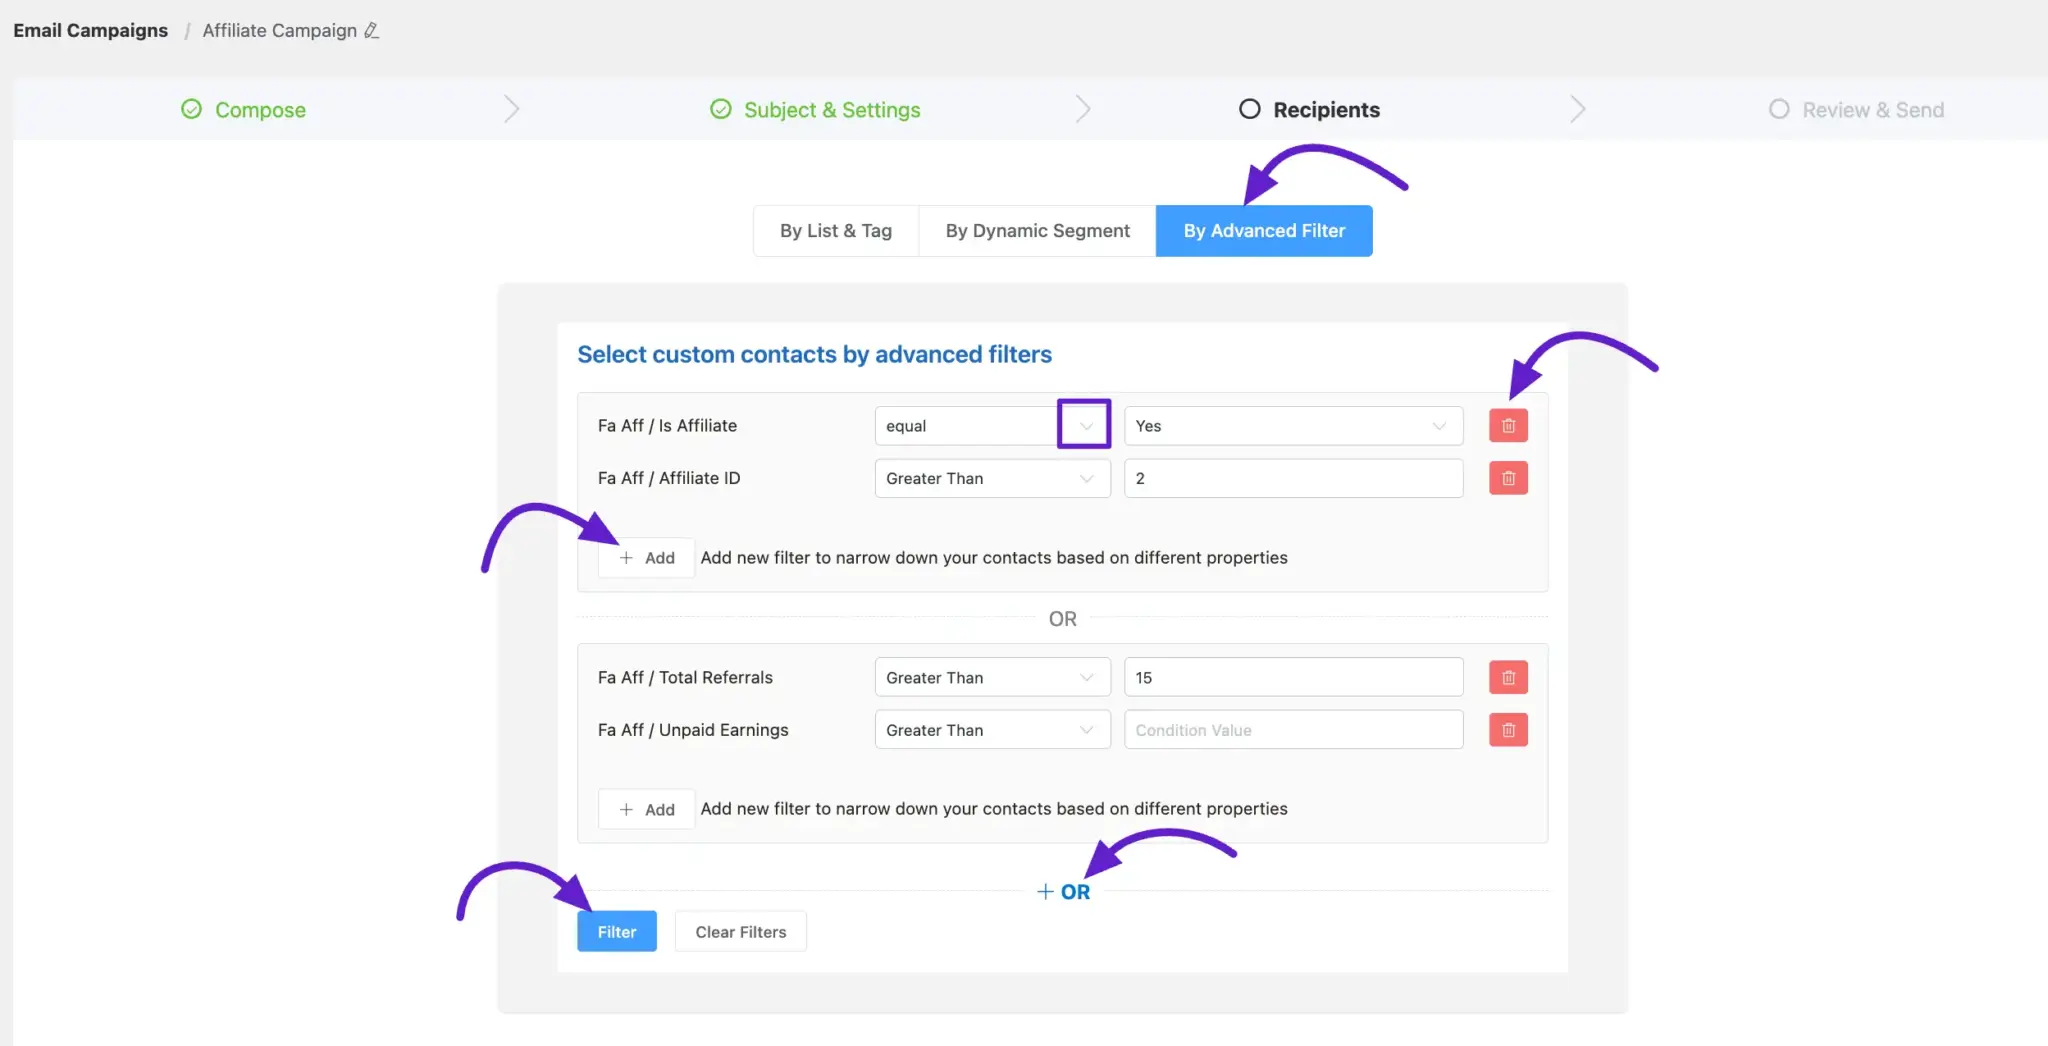
First, you need to contact FluentAffiliate manually or use automation to run an email campaign with an advanced filter. Select By Advanced Filter option and then choose the custom contact condition.
Now, click on the +Add button to start the filtering, where you will get many options to set the conditions. Here you will find the FluentAffiliate option, and click on it.
You can add more filters by clicking the +Add button, add filters against the existing filter by clicking the + OR button, and delete any existing filter by clicking the Trash Icon.
Contact Management
If you want to filter out your FluentAffiliate contacts, go to the FluentCRM Contact section. Click the toggle button to enable the Advanced Filter.
Next, click the +Add icon and select the FluentAffiliate option. Here you will find a filter condition. After that, set the condition filter and click the Filter button.

Troubleshooting Common Issues
Here are solutions to common issues you might encounter:
- Integration Toggle Not Visible: Ensure both FluentCRM and FluentAffiliate are activated. If the issue continues, deactivate and reactivate both plugins, and then check again.
- Contact Sync Not Working: Verify that the contact sync option is enabled and that your FluentCRM settings are properly configured.
- Automation Not Triggering: Check if the triggers are properly set up and that the conditions are being met.
And that's it. This is an easy process to integrate FluentCRM with FluentAffiliate.